Organization Account Onboarding
This section explains how an Admin can onboard AWS accounts into CloudCADI using the Organization onboarding flow.
Step 1 - Navigate to Onboarding Section
-
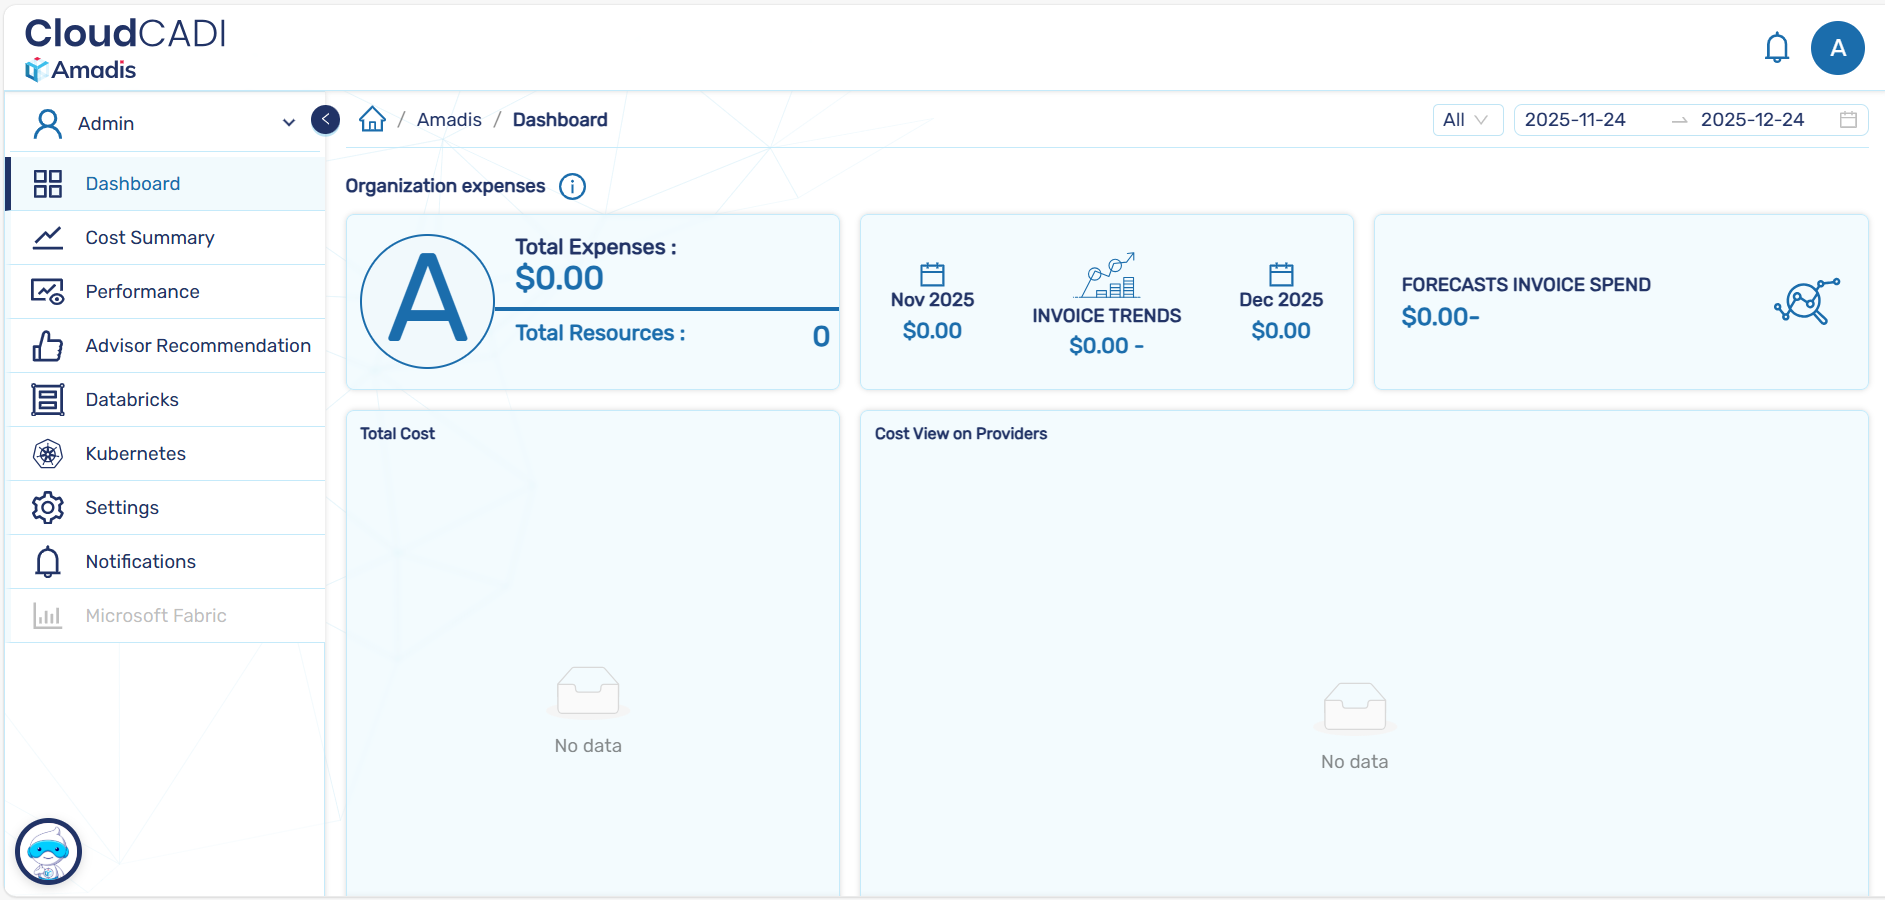
Log in to CloudCADI using an Admin account.
-
From the left navigation menu, click Onboarding.
-
You will be redirected to the Data Source List page.

Step 2 - Add a New Data Source
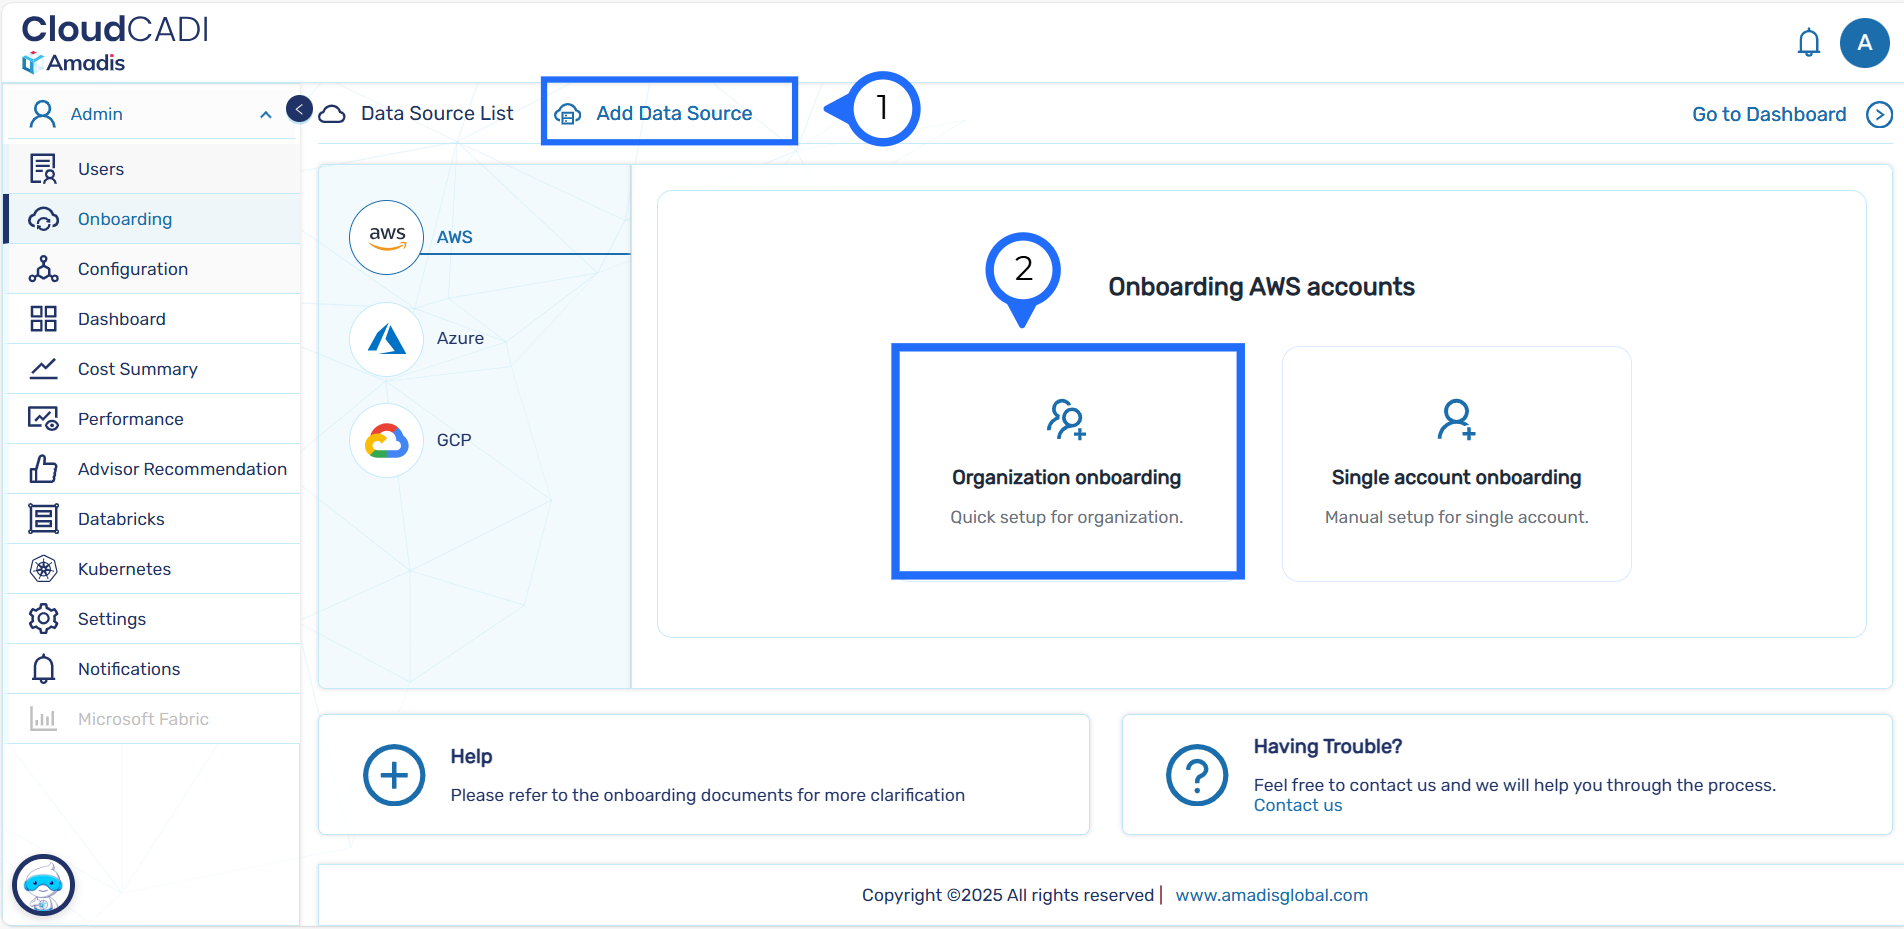
- Click on the Add Data Source button at the top of the page.
- From the list of cloud providers, select AWS.
Step 3 - Choose AWS Onboarding Type
-
On the Onboarding AWS accounts screen, select one of the following options:
-
Organization onboarding – Quick setup for AWS Organizations (recommended)
-
Single account onboarding – Manual setup for a single AWS account
-
-
Proceed using Organization Onboarding.
-
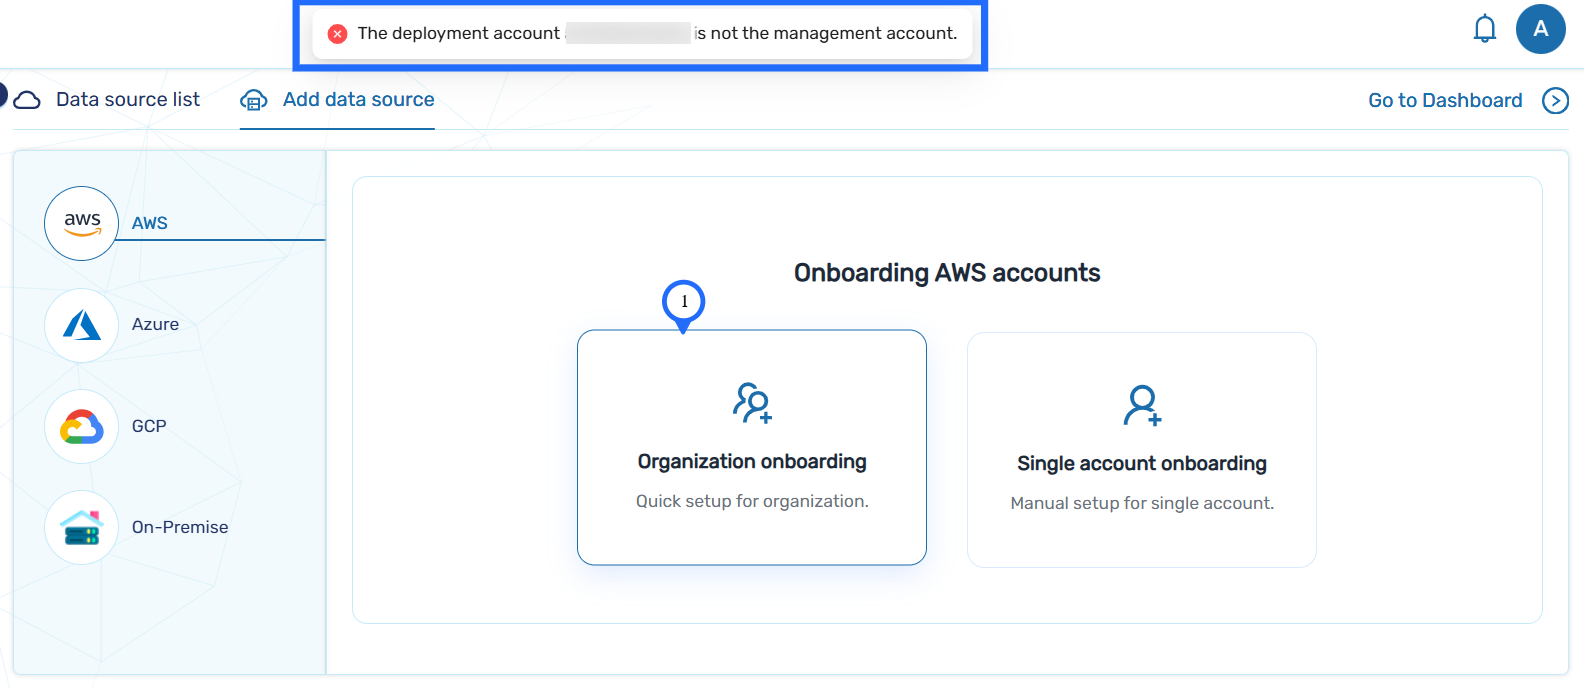
If the deployment account is not management account , organization onboarding will not work or else proceed with Step 4.
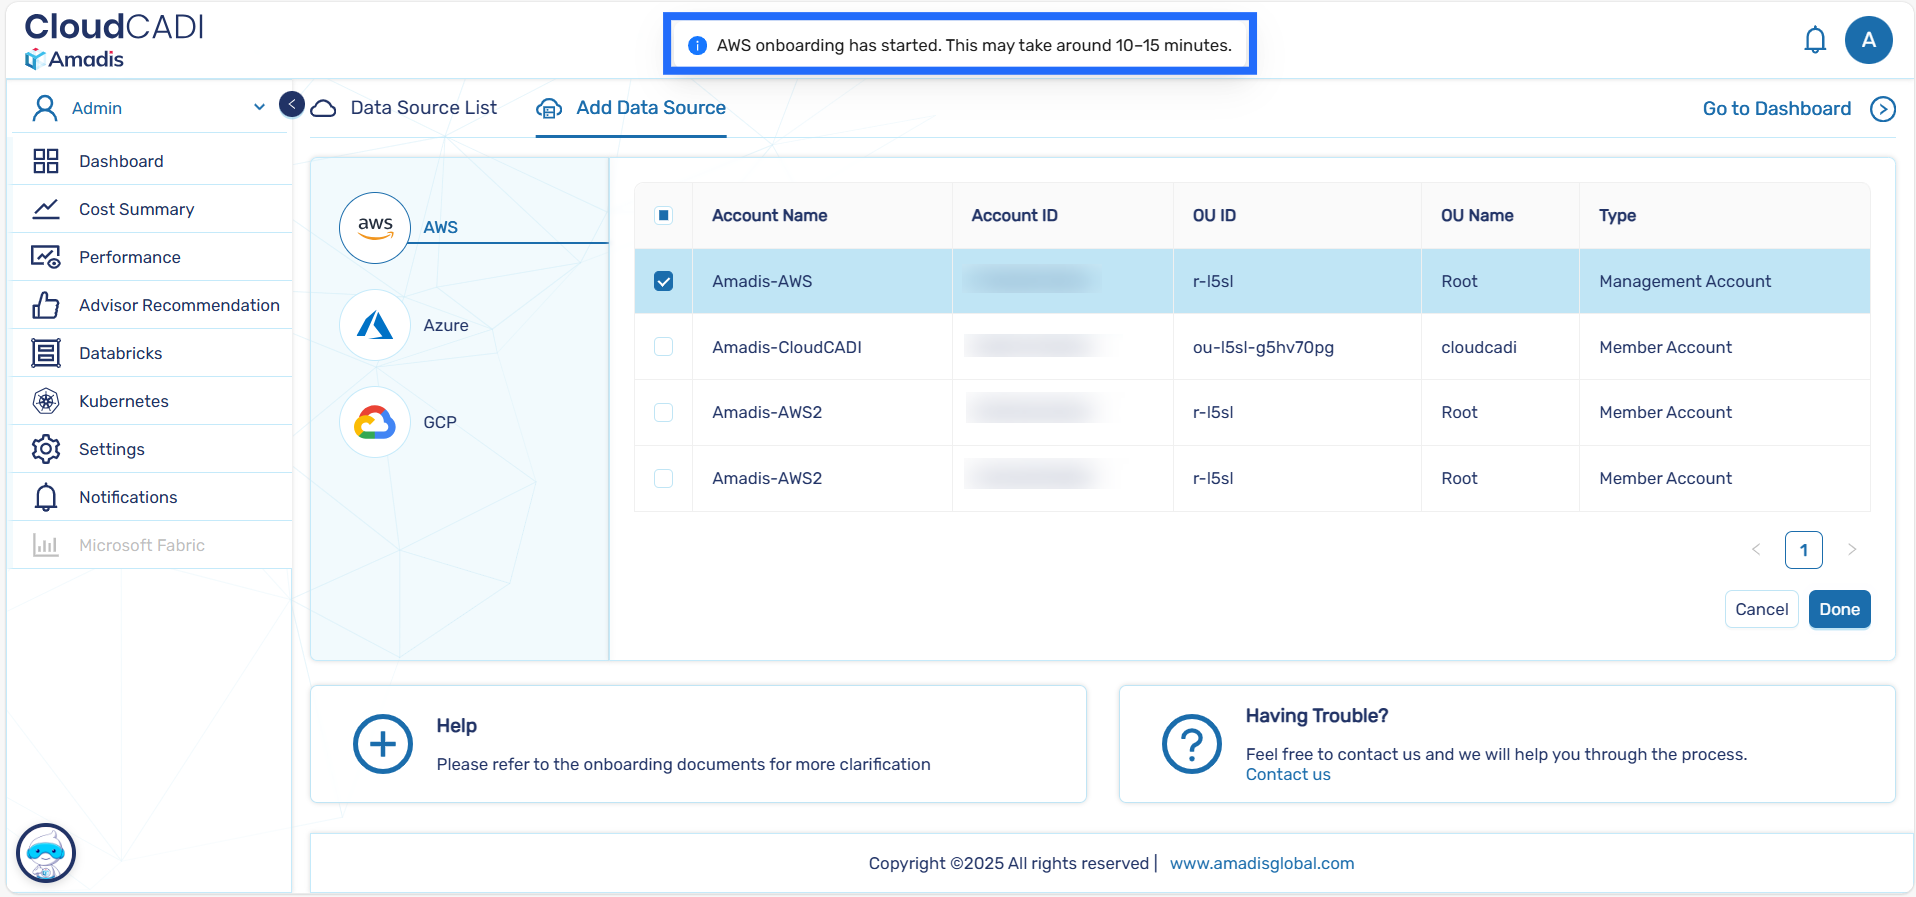
Step 4 - Select AWS Accounts
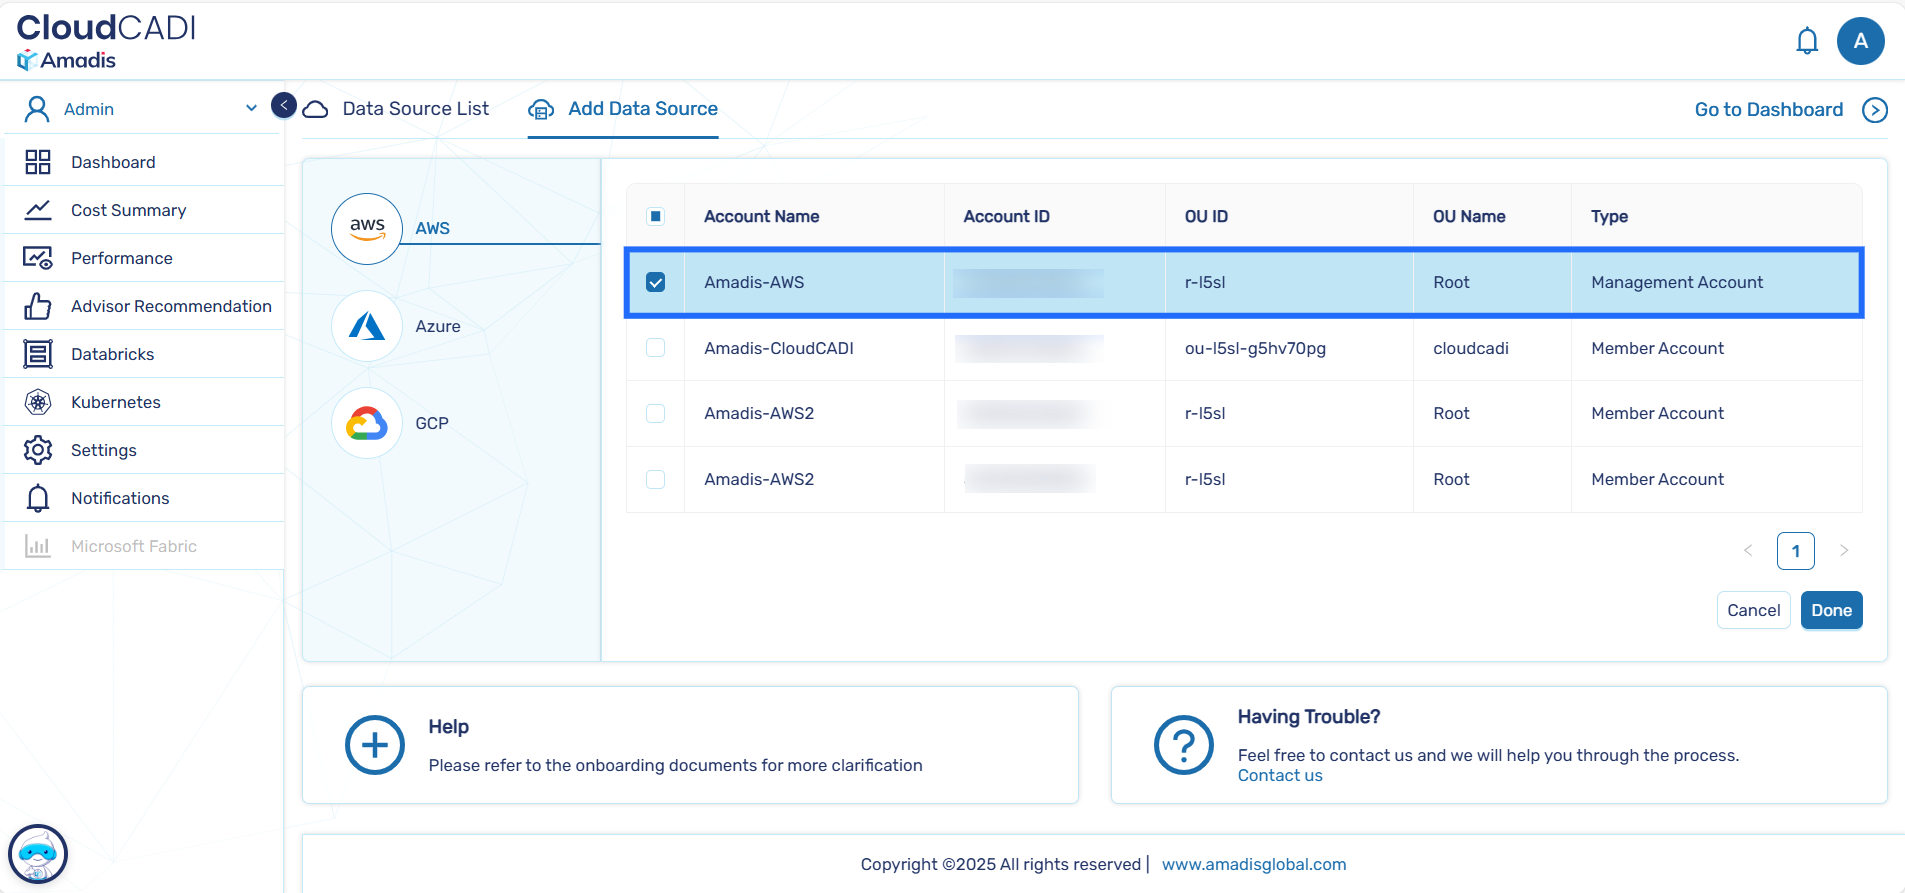
- CloudCADI displays the list of AWS Accounts discovered under the organization.
-
Select the AWS Account you want to onboard.
-
After selecting the Account, click Done.
Step 5 - Onboarding Process Initiation
After confirmation:
- The onboarding process typically takes 10–15 minutes to complete.
-
A popup message appears indicating that AWS onboarding has started.
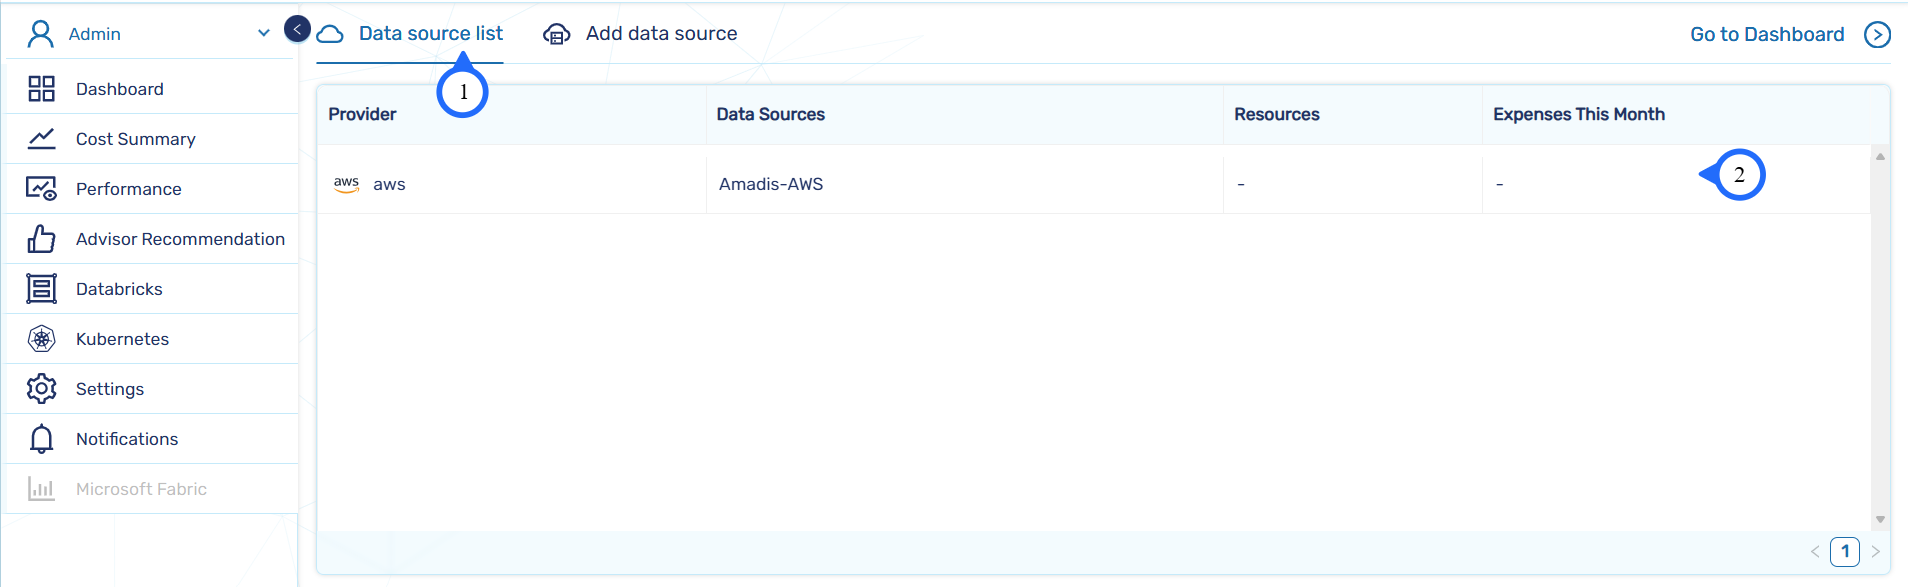
Step 6 - Verify Data Source Creation
- Navigate back to Data Source List tab.
- Confirm that the AWS Accounts appears in the list.
-
Ensure the provider is shown as AWS with the configured Account name.
-
After successful onboarding, AWS cost and usage data becomes available across CloudCADI dashboards.