Auto Setup
This section explains how an Admin can onboard AWS accounts into CloudCADI using the Auto Setup flow.
Step 1 - Navigate to Onboarding Section
-
Log in to CloudCADI using an Admin account.
-
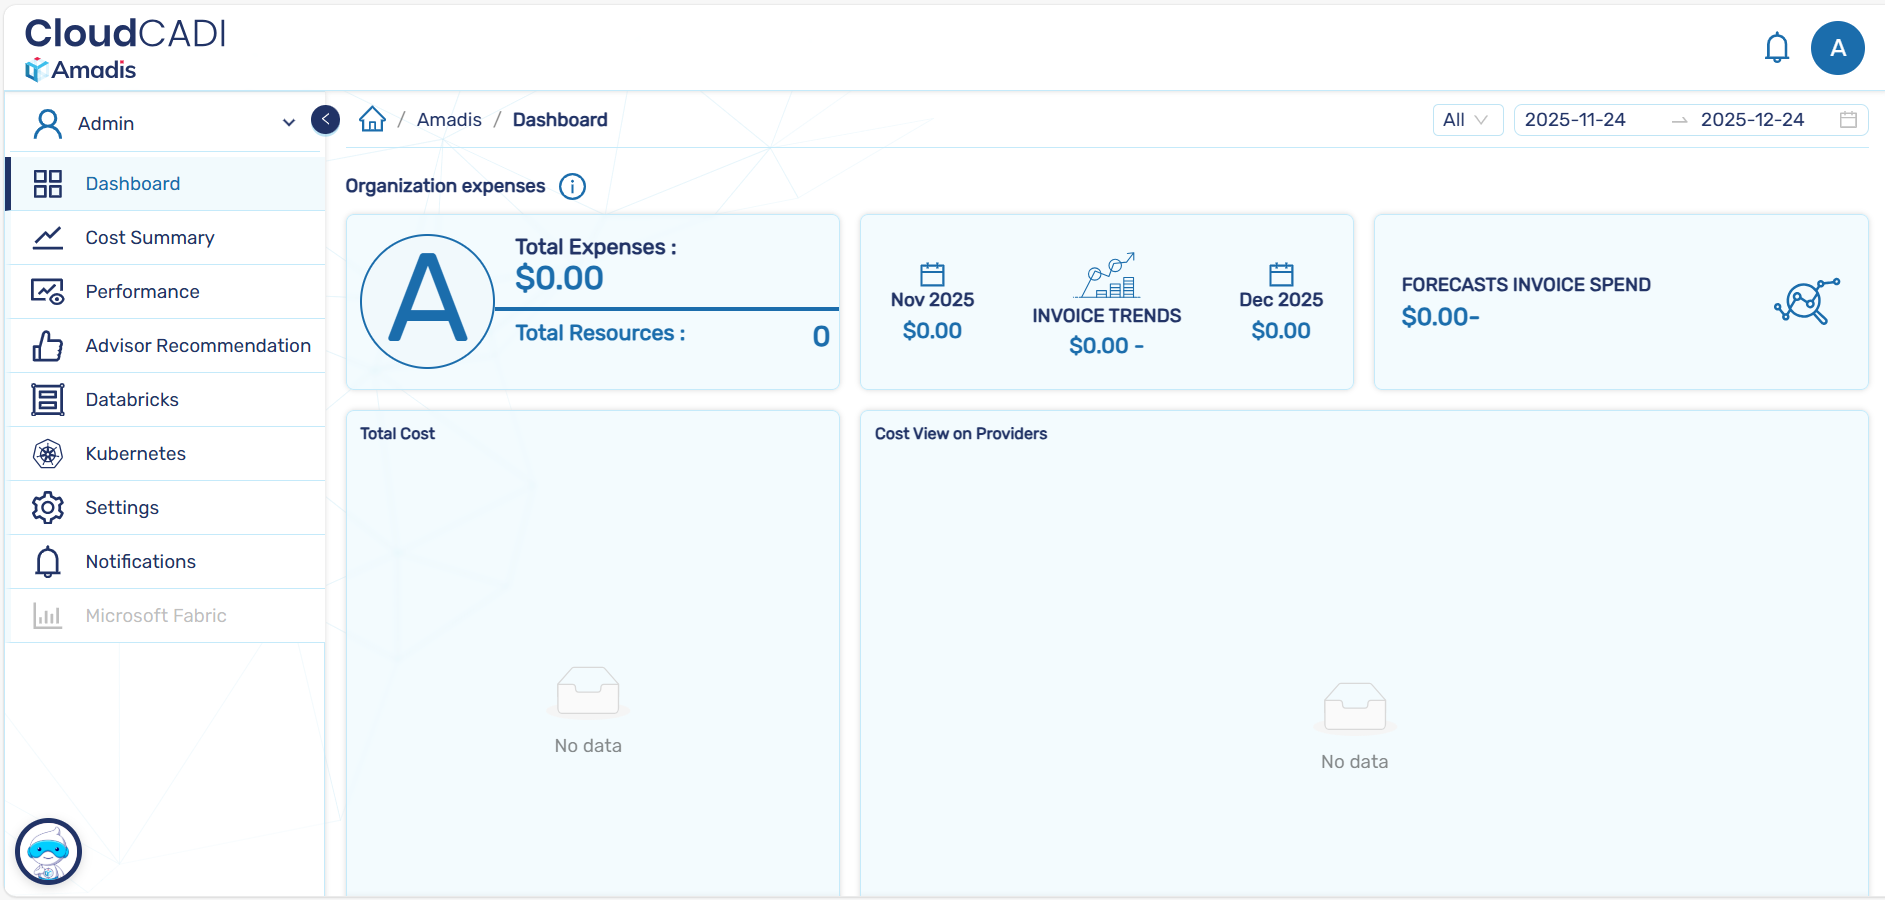
From the left navigation menu, click Onboarding.
-
You will be redirected to the Data Source List page.

Step 2 - Add a New Data Source
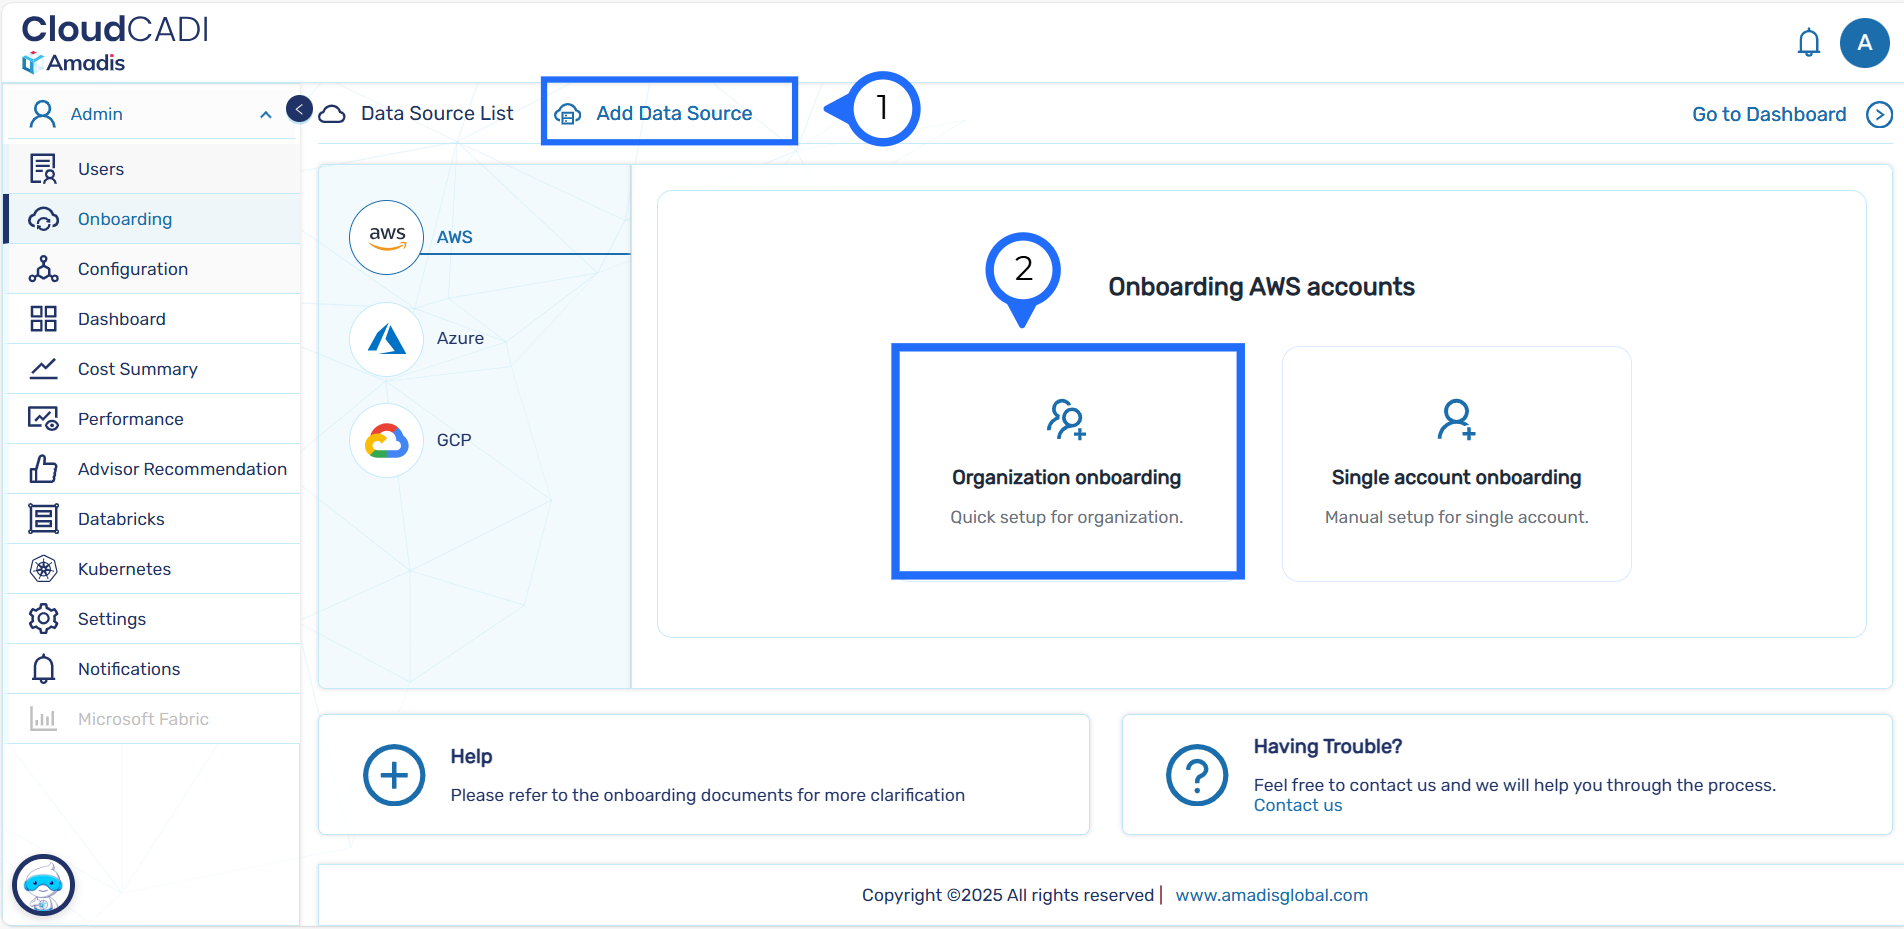
- Click on the Add Data Source button at the top of the page.
- From the list of cloud providers, select AWS.
Step 3 - Choose AWS Onboarding Type
- On the Connect AWS Accounts screen, select one of the following options:
-
Auto Setup – Fast onboarding via Organizations. (recommended)
-
Manual Setup – Step by step user controlled setup.
Auto Setup Requirement
Auto Setup is supported only if the CloudCADI deployed account is:
- The AWS Organizations management account, or
- A member account configured as a delegated administrator.
-
Proceed using Auto Setup.
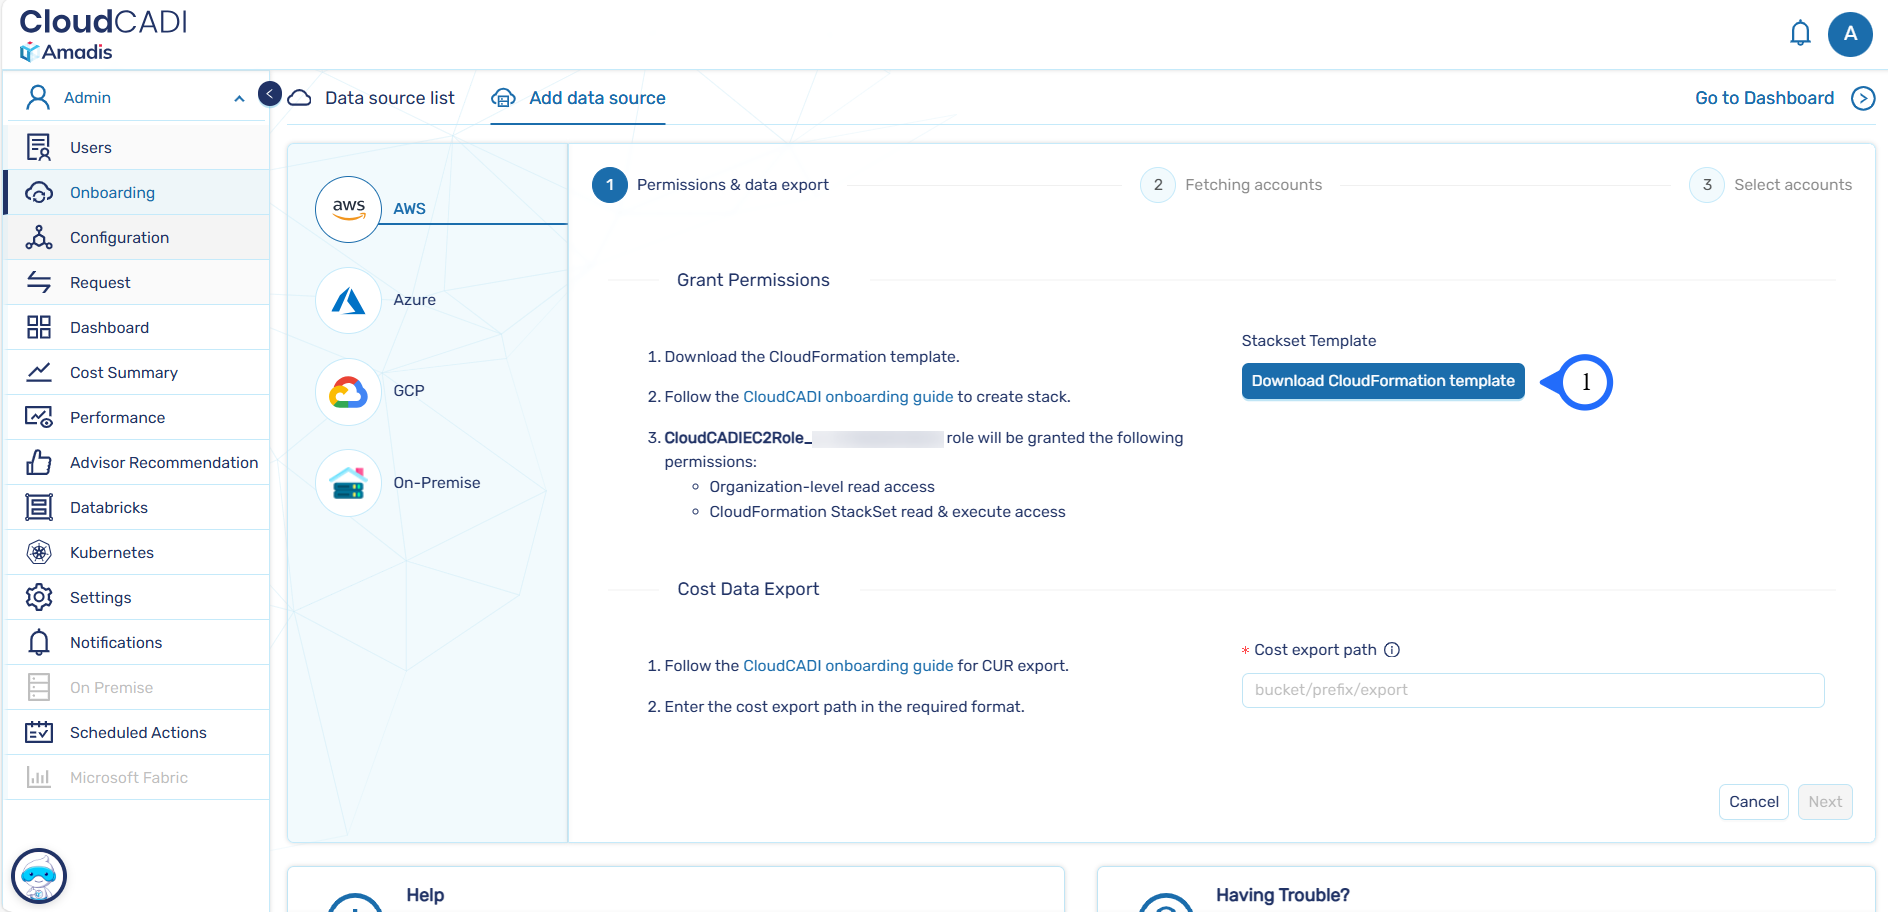
Step 4 - Grant Permissions and Define Cost Export Path
-
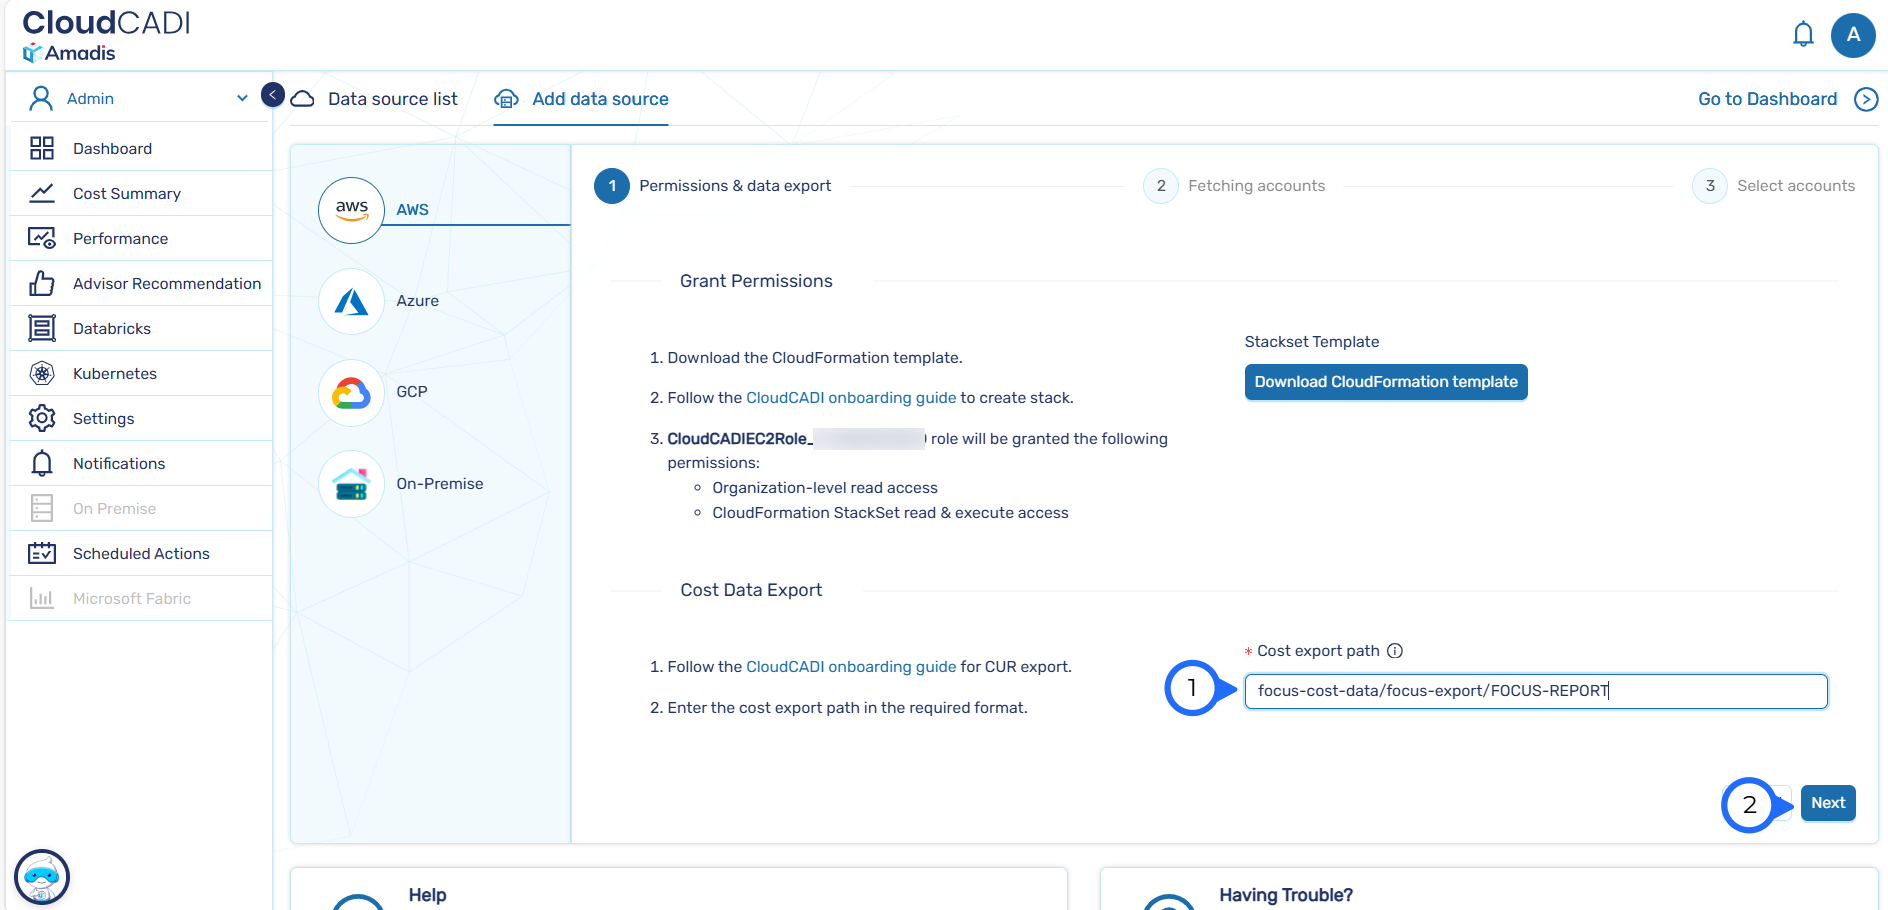
Download the CloudFormation stack template.
-
Deploy the stack by following the onboarding guide. This will create a role with the required permissions, including:
- Organization-level read access
- CloudFormation StackSet read and execute access
Deployment Requirement
Ensure the CloudFormation stack is created:
- In the same AWS account where CloudCADI is deployed.
- In the same region as the CloudCADI deployment.
-
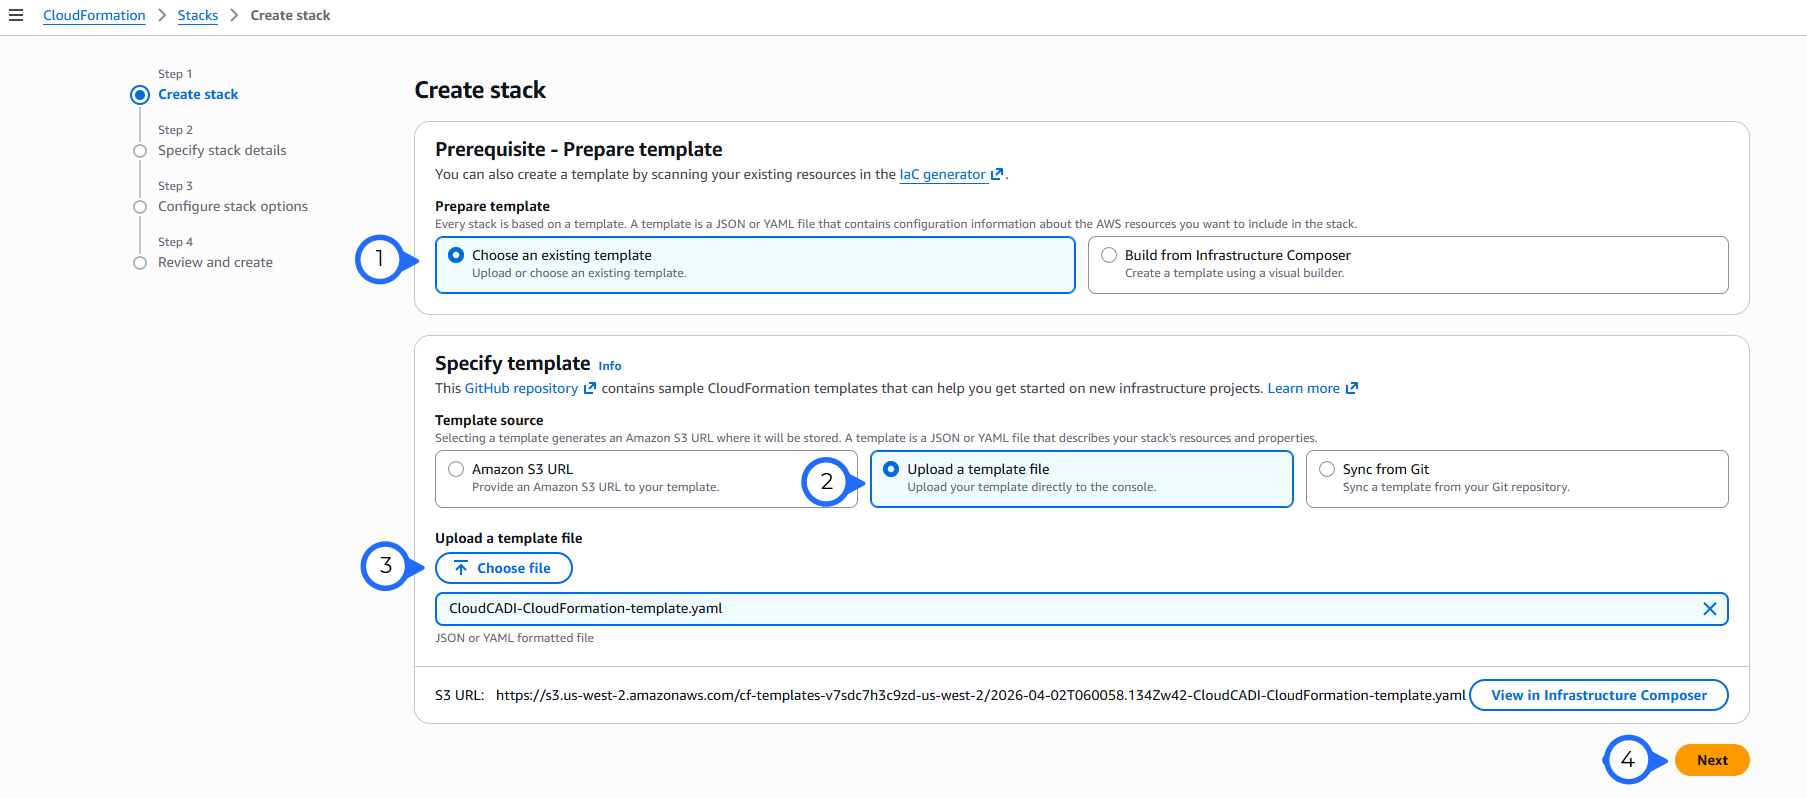
Open the AWS CloudFormation Console.
-
Under Prepare template, select Choose an existing template.
-
Under Template source, select Upload a template file.
-
Upload the downloaded CloudFormation template file and click next.
-
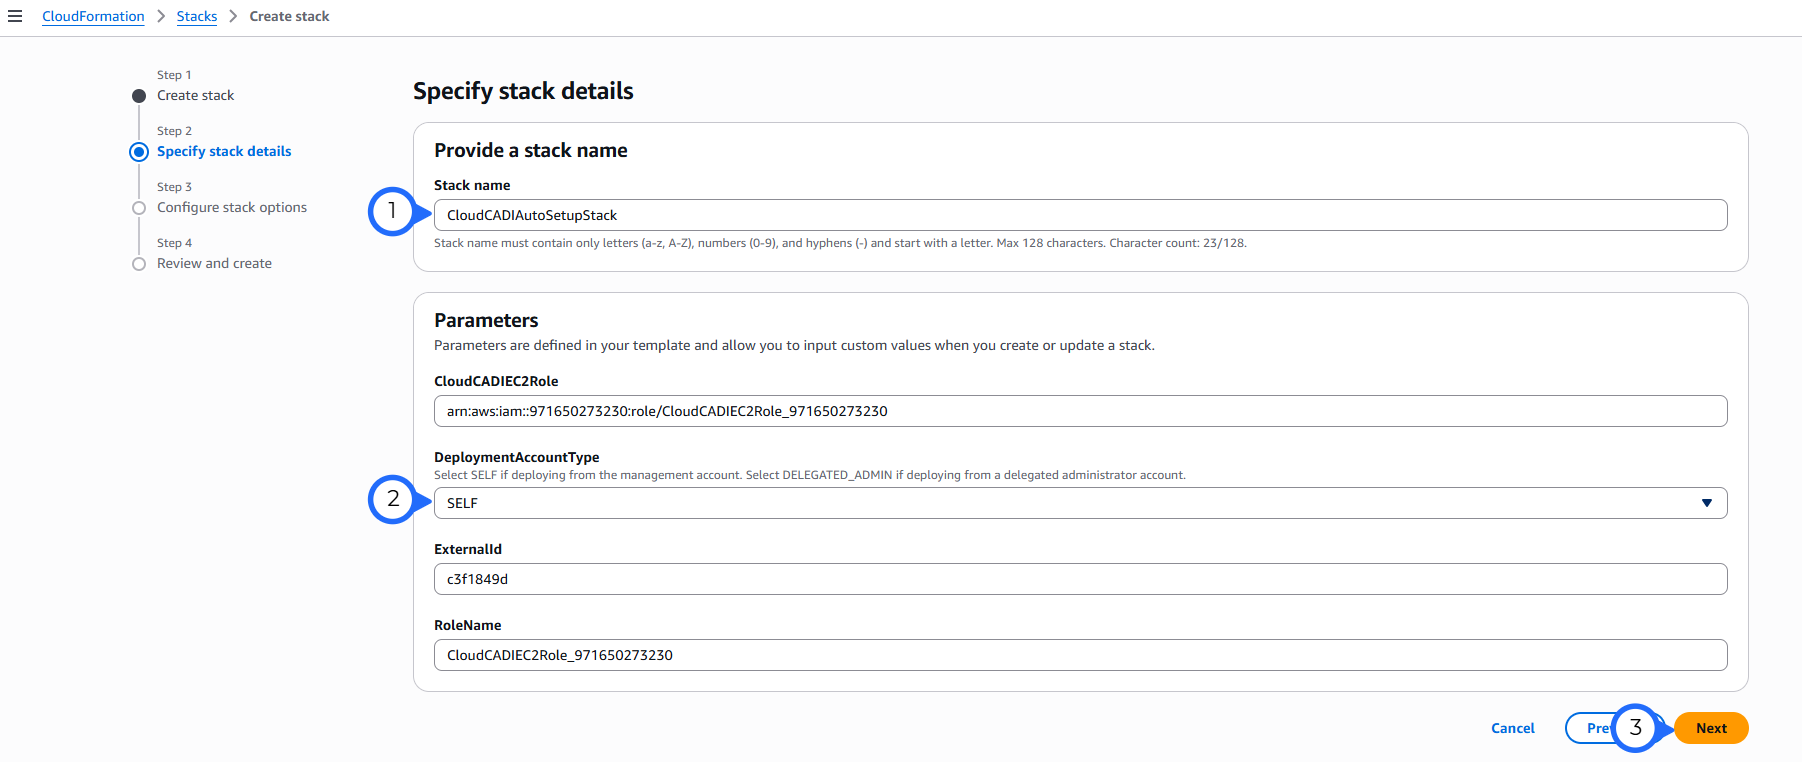
Under specify stack details. Enter stack name.
-
For DeployedAccountType, select SELF if the CloudCADI deployed account is the AWS Organizations management account. Select DELEGATED_ADMIN if it is a member account configured as a delegated administrator.
Enable Delegated Administrator
Follow these steps to enable a delegated administrator in AWS Organizations:
-
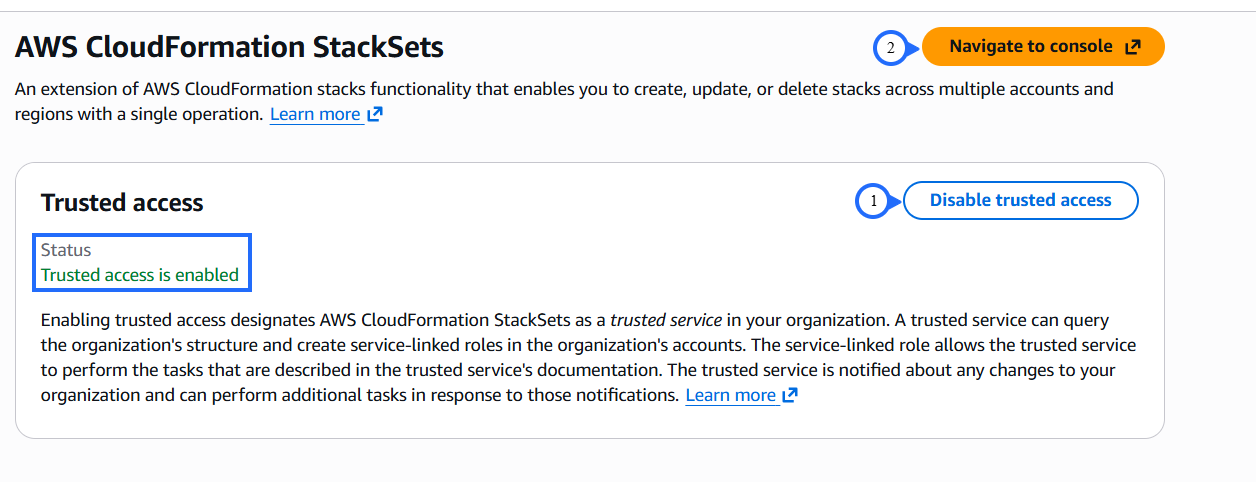
Sign in to the AWS Management Account and open AWS Organizations → Services.
-
Find AWS CloudFormation StackSets and click Enable trusted access.
-
Click Navigate to Console.
-
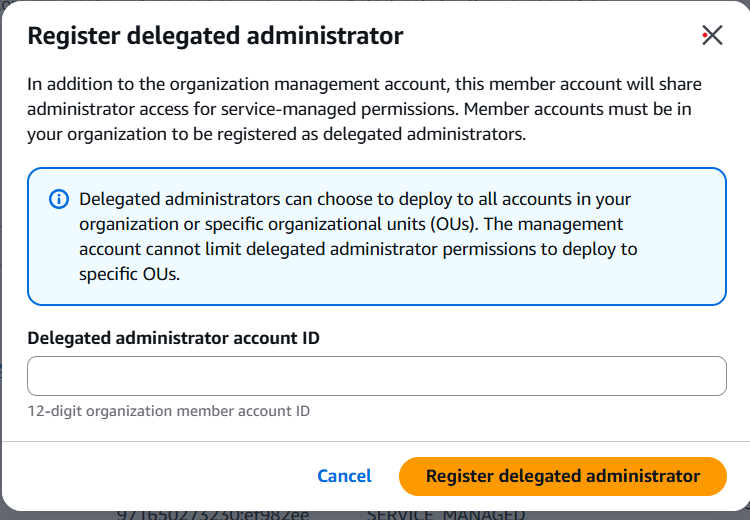
Under Delegated Administrators, click Register delegated administrator.

-
A popup will appear. Enter the Delegated Administrator Account ID and click Register Delegated Administrator.
-
The member account can now perform the required actions.
-
-
Click Next.
-
Under Configure stack options, scroll to the bottom, acknowledge the required capabilities by selecting the checkbox, and click Next.

-
Under Review and create, scroll down, verify all configuration details, and click Create stack.
One-Time Setup
- This CloudFormation stack deployment is a one-time setup.
- CloudCADI automatically creates the required cross-account roles using StackSets when you select accounts from the UI.
-
Enter the management account cost export path in the required format:
<bucket-name>/<prefix>/<export-name>Important
-
The provided bucket must belong to the Management Account. If not, cost data will not be available for other accounts.
-
If you are using a cross-account bucket (for example, when the deployed account is a member account), ensure that the appropriate bucket policy is configured to allow access.
-
-
Refer to the AWS Cost & Usage Data Export (FOCUS) for detailed steps.
-
Click Next. The cost export path and required permissions are validated, and the accounts are fetched and displayed in the UI.
Step 5 - Select AWS Accounts
- CloudCADI displays the list of AWS Accounts discovered under the organization.
-
Select the AWS Account you want to onboard.
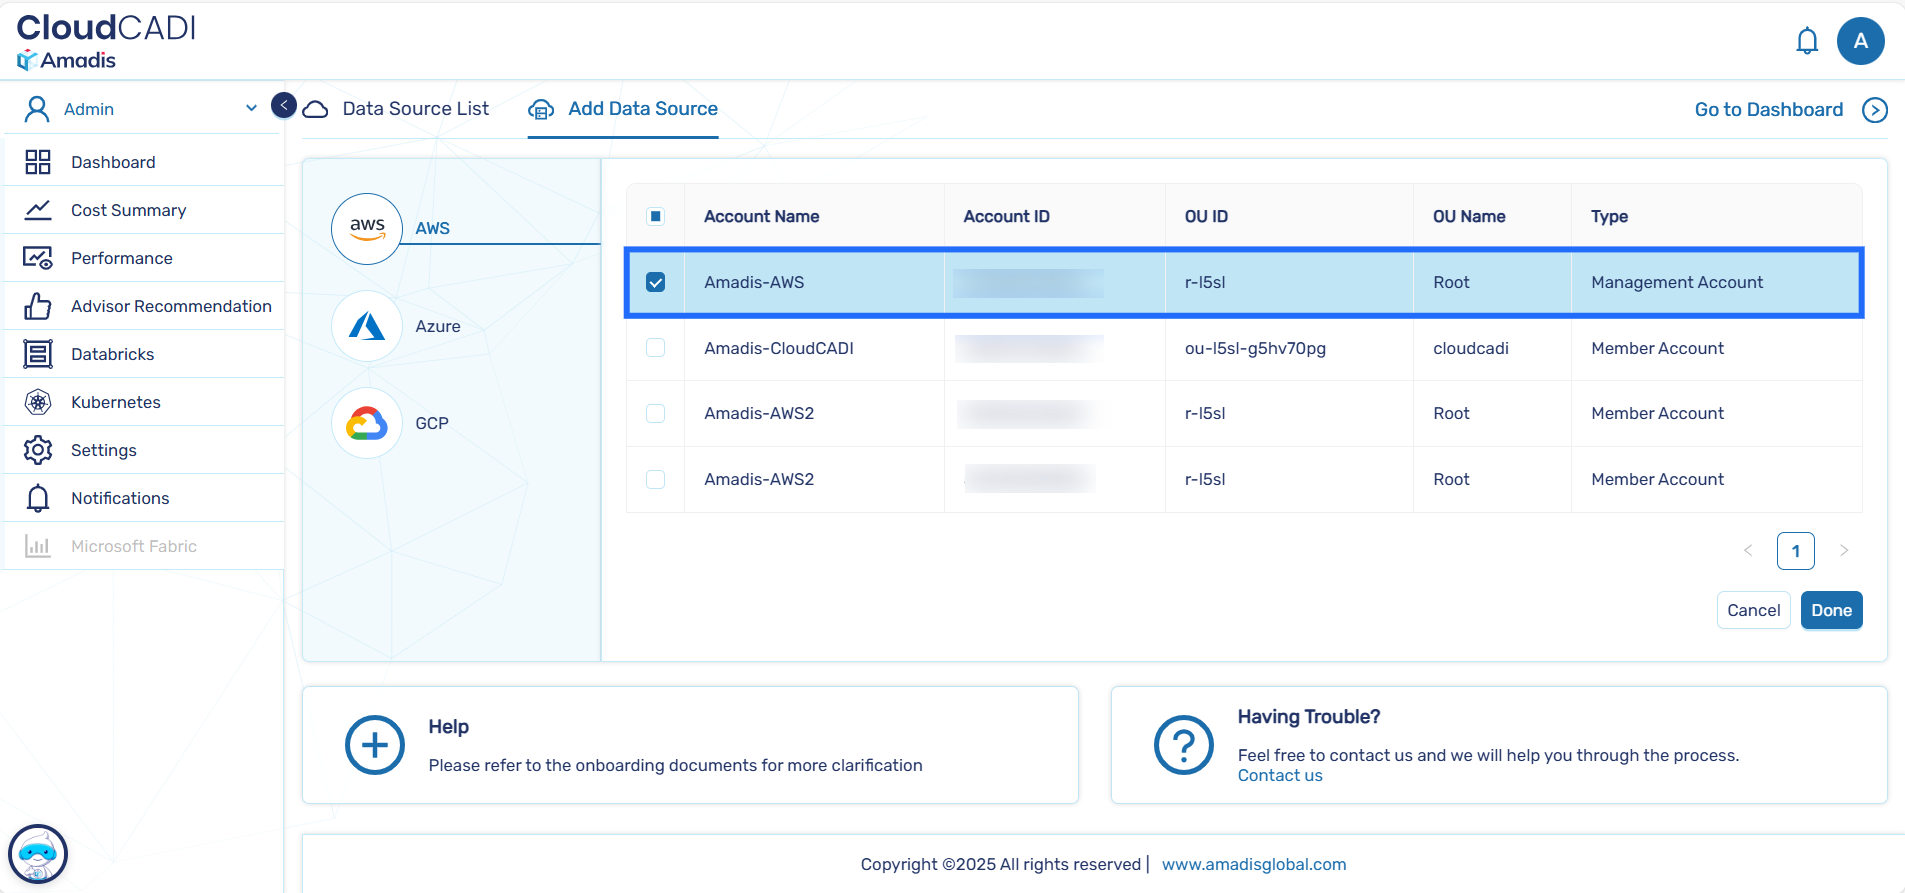
-
After selecting the Account, click Done.
Step 6 - Onboarding Process Initiation
After confirmation:
- The onboarding process typically takes 10–15 minutes to complete.
-
A popup message appears indicating that AWS onboarding has started.
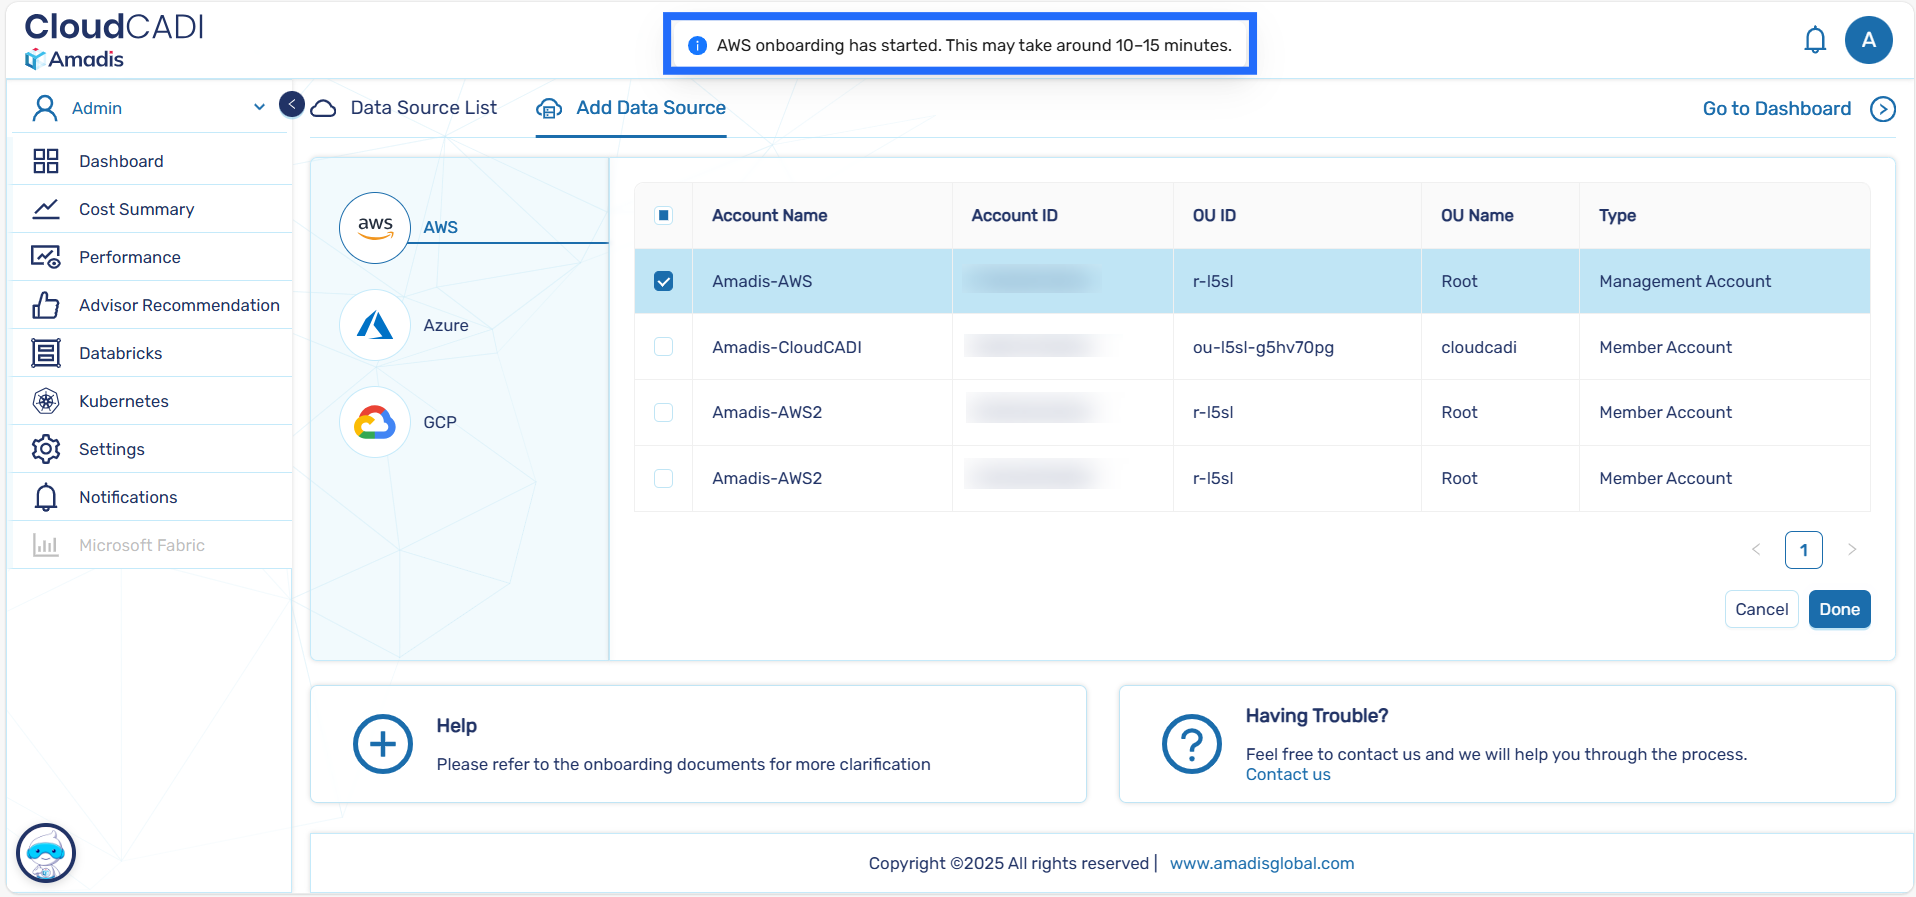
-
You will be redirected to the Data Sources list page.
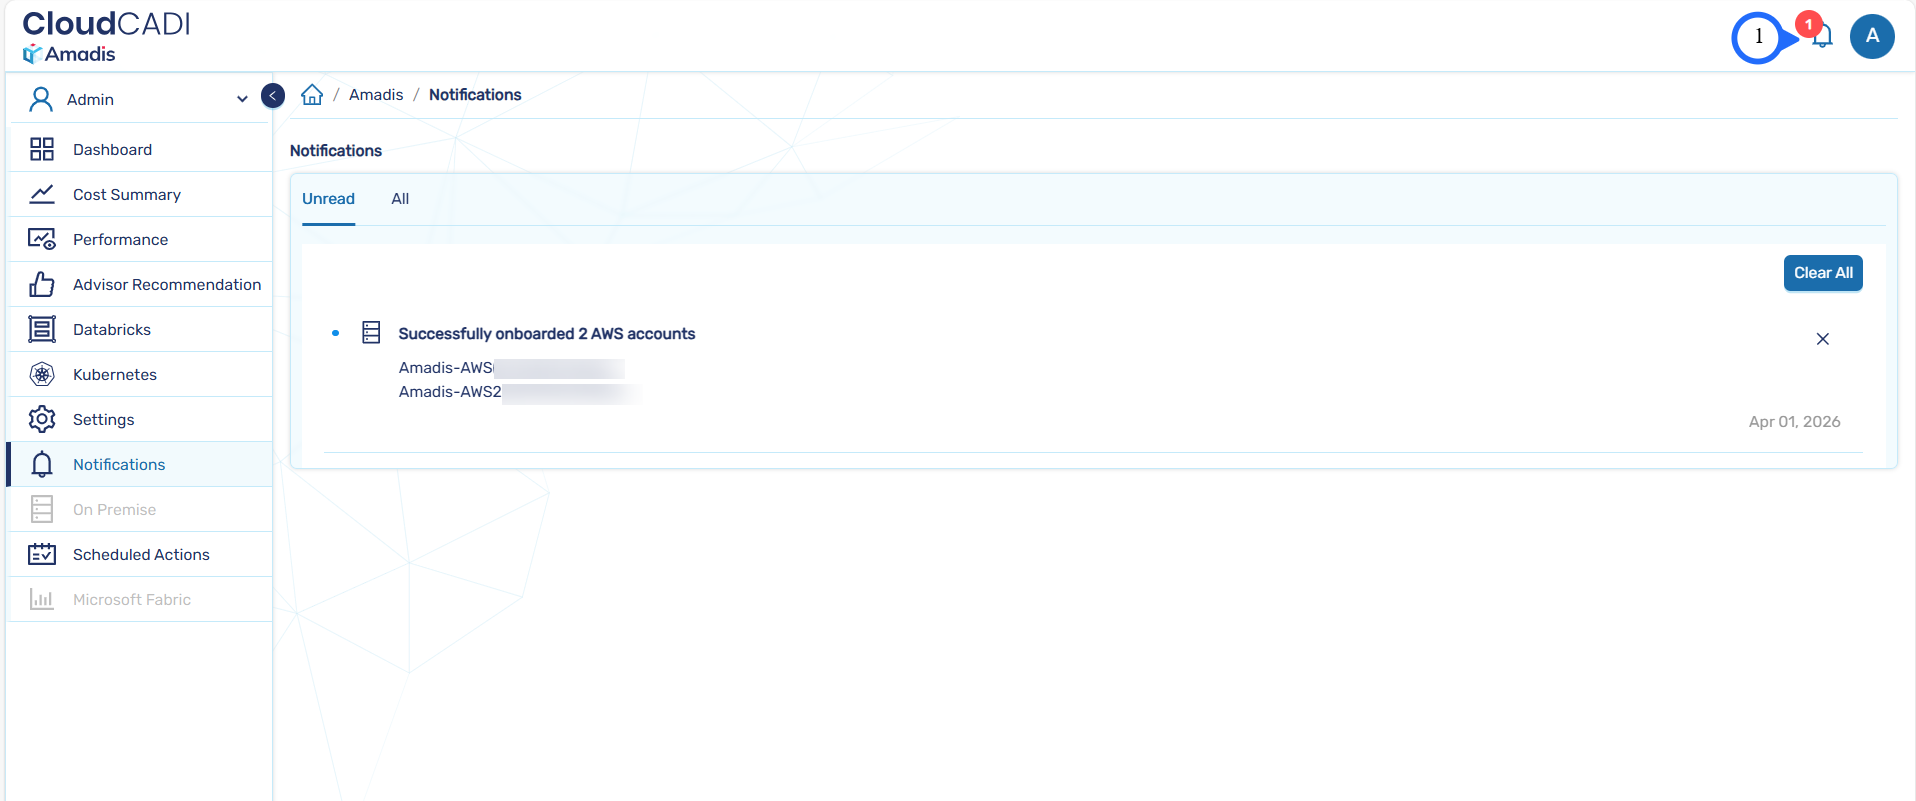
-
You will be notified once the accounts are onboarded.
Step 7 - Verify Data Source Creation
- Navigate back to Data Source List tab.
- Confirm that the AWS Accounts appears in the list.
-
Ensure the provider is shown as AWS with the configured Account name.
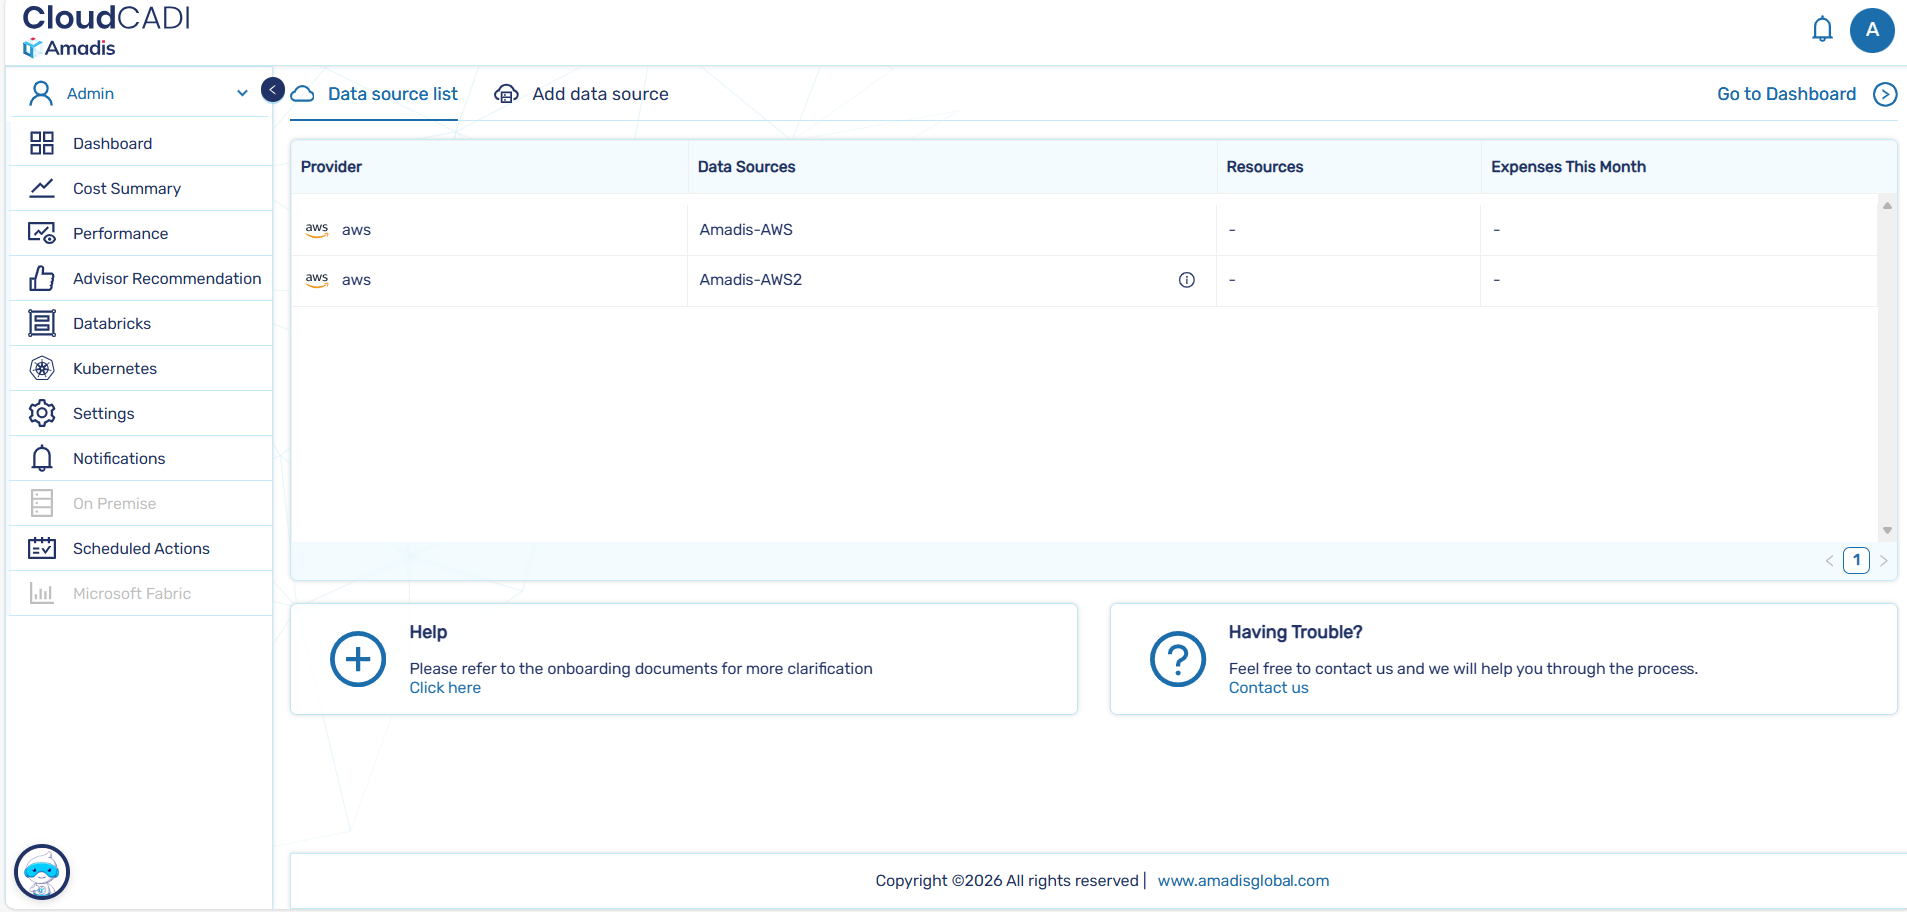
-
After successful onboarding, AWS cost and usage data becomes available across CloudCADI dashboards.
Update S3 Bucket Policy
-
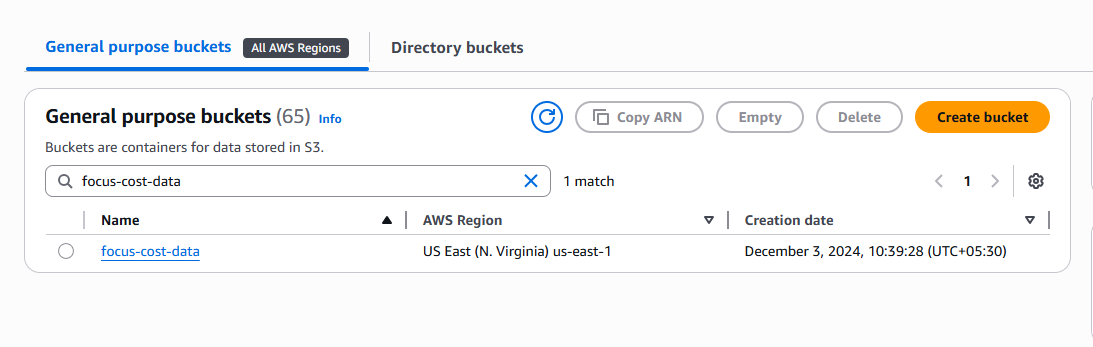
In the AWS Console, navigate to the S3 bucket configured for cost export path.
-
Go to the Permissions tab and click Edit.

-
Add the following statement to the existing bucket policy and click Save changes.
Tip
- Replace
<ROLE_ARN>with the Role ARN obtained during stack creation. - Replace
<BUCKET_NAME>with your S3 bucket name.
Warning
Do not remove existing statements in the bucket policy. Only add the above statement.