Environment Setup
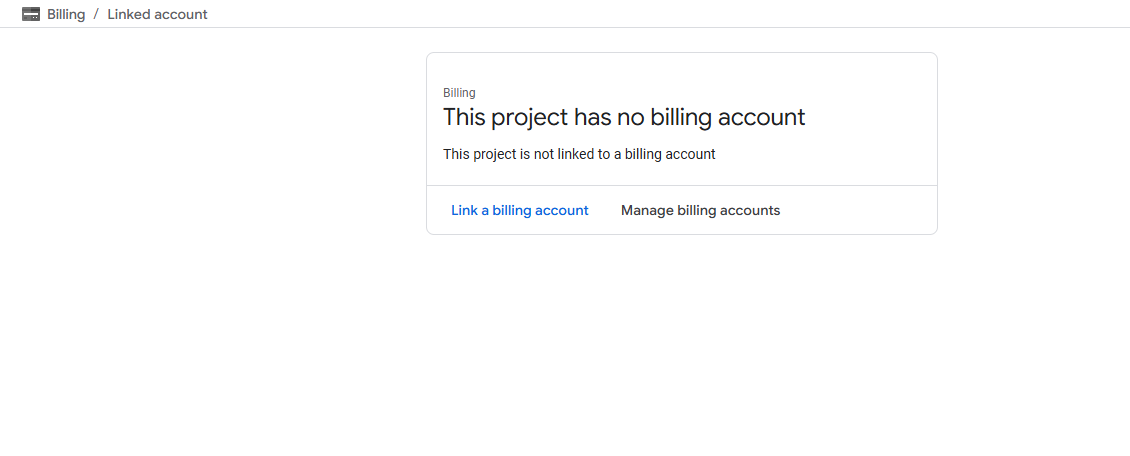
Cloud Billing
- If the project is not linked to any billing account, link it to an existing billing account. If no billing account exists, create one first and then link it.
BigQuery
Step 1 - Enable BigQuery API
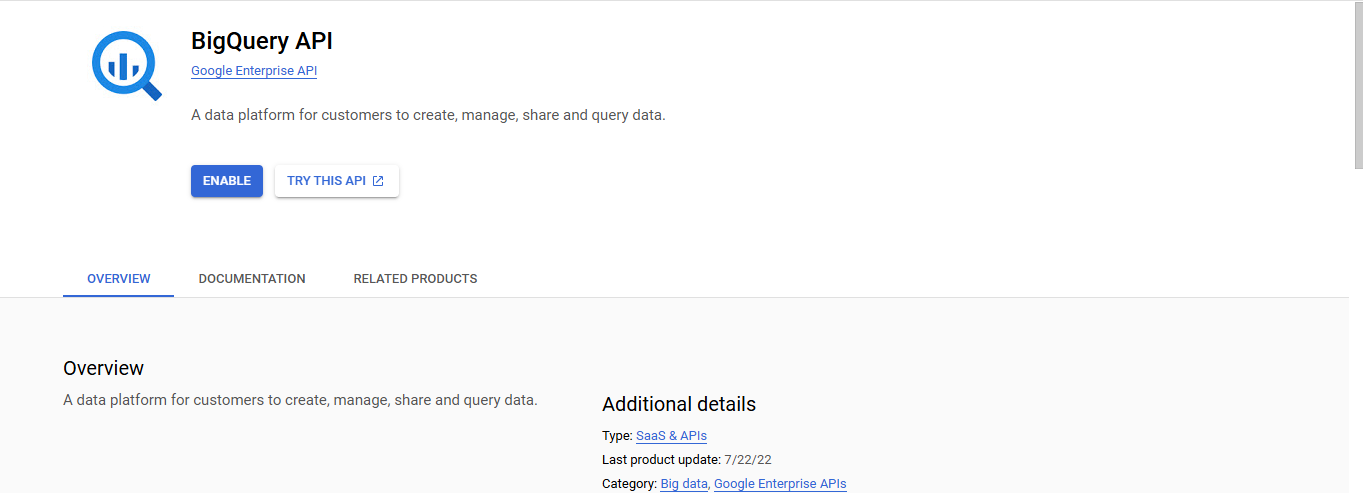
- Enable the BigQuery API if it is not already enabled.
Step 2 - Enable export of your Cloud Billing and Pricing data to BigQuery
Cloud Billing and Pricing export to BigQuery lets you export detailed Google Cloud billing data (such as usage, cost estimates, and pricing data) automatically throughout the day to a BigQuery dataset that you specify.
To enable and configure the export of Cloud Billing usage cost and pricing data to a BigQuery dataset, you need the following permissions:
1. Billing Account Administrator role - for the target Cloud Billing account.
2. BigQuery User role - for the Google Cloud project that contains the BigQuery dataset that will be used to store the Cloud Billing data.
-
Sign into the GCP Console.
-
Choose the project that you want to optimize.
-
Open the Cloud Billing console for that project.
-
Click Go to Linked Billing Account.
Note
- The Cloud Billing account you choose must be linked with the project you select during onboarding.
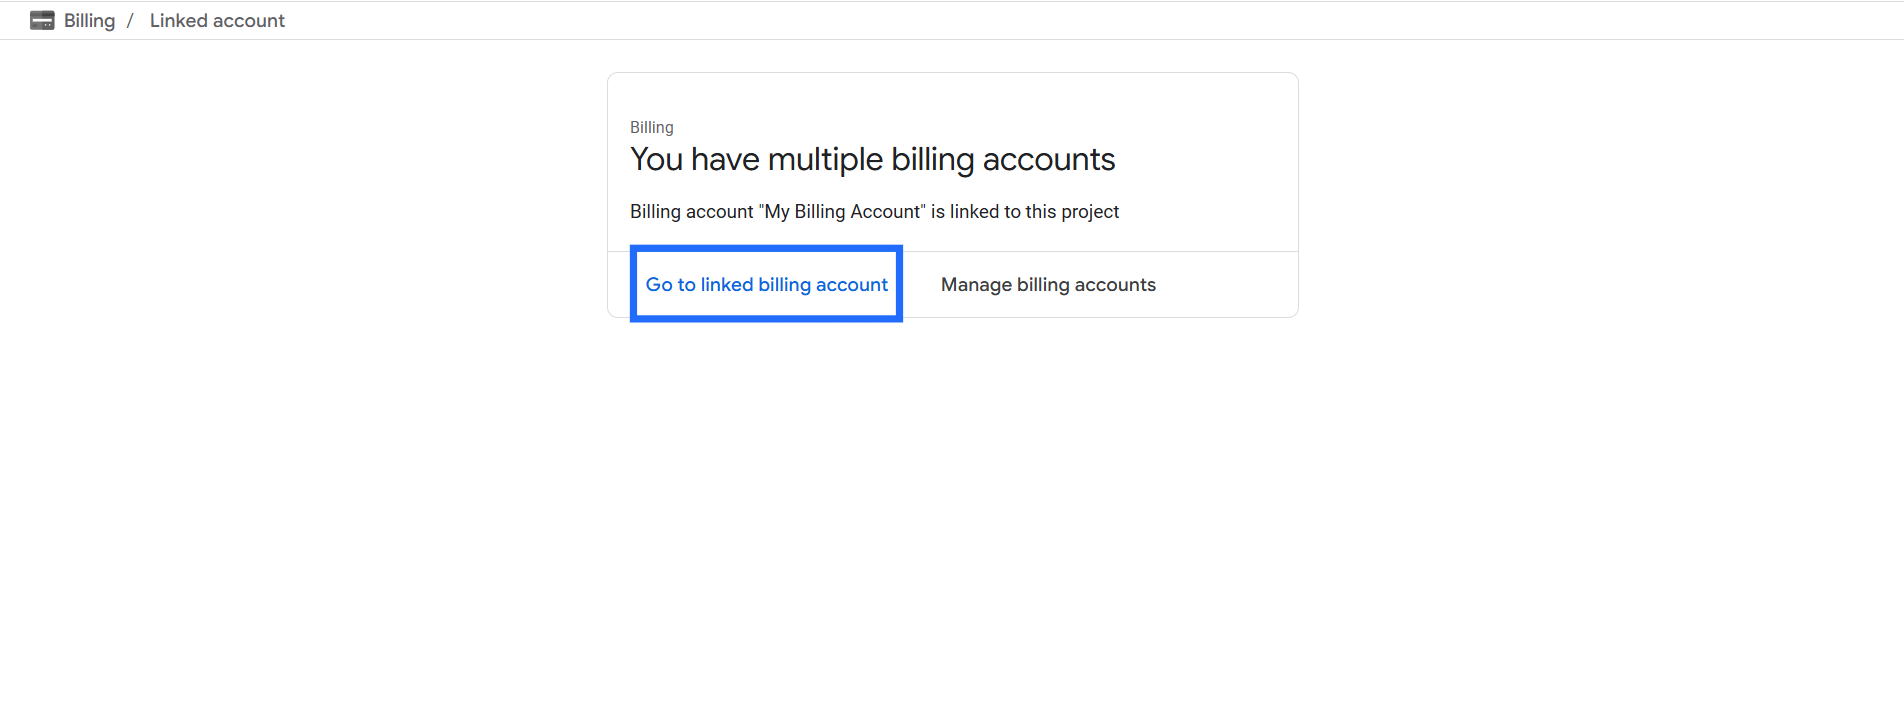 3. This will take you to the detailed billing account page for your Billing Account.
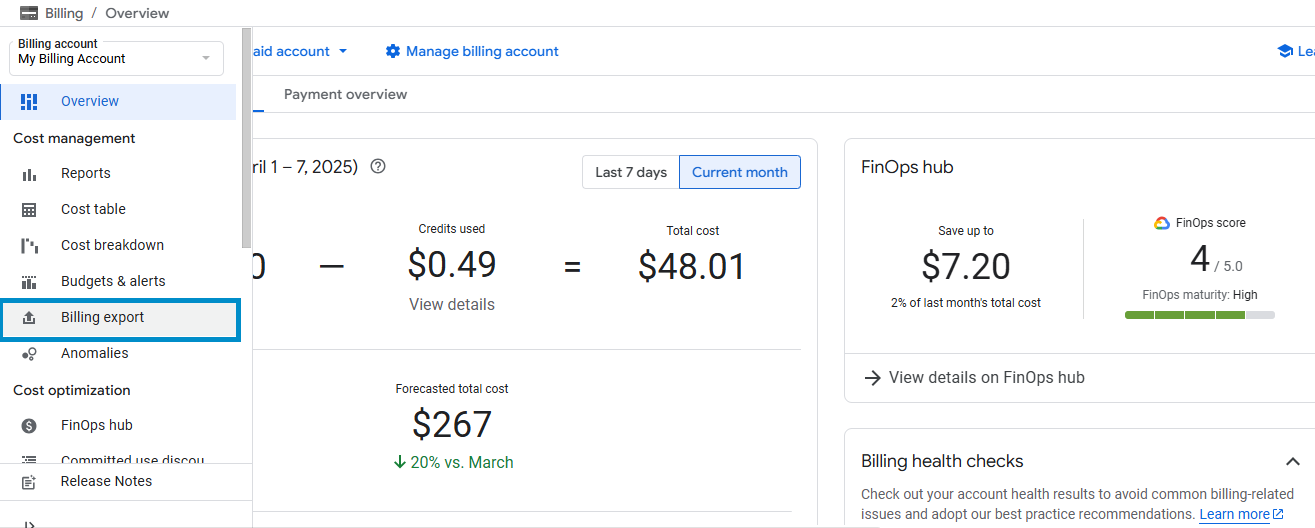
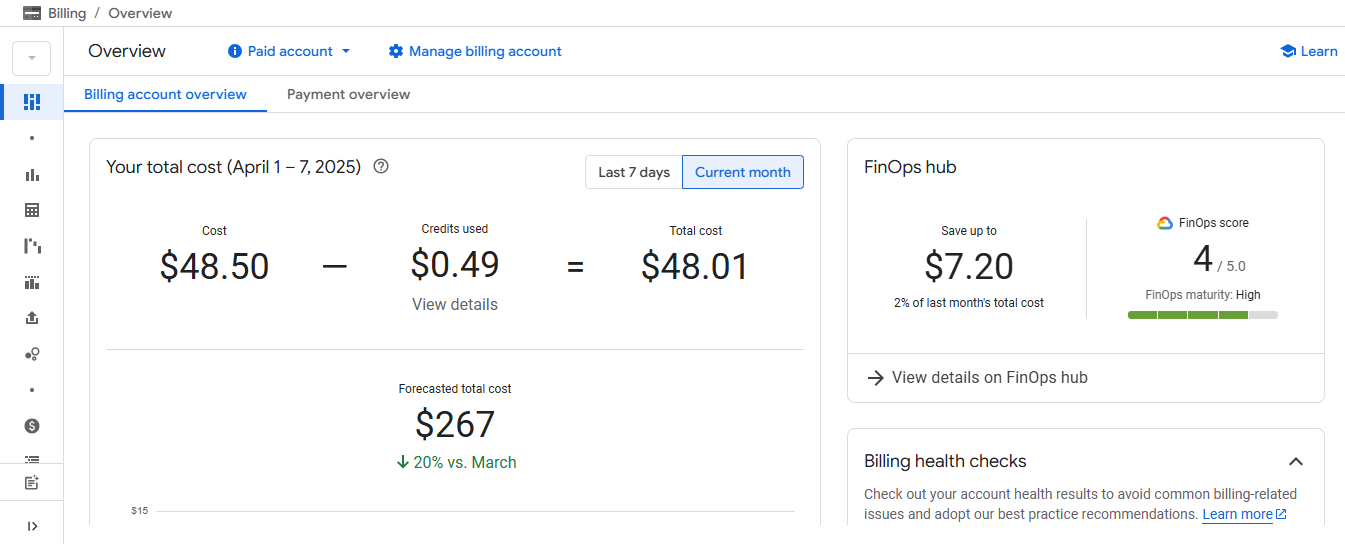 4. Select Billing export from the Billing navigation menu.
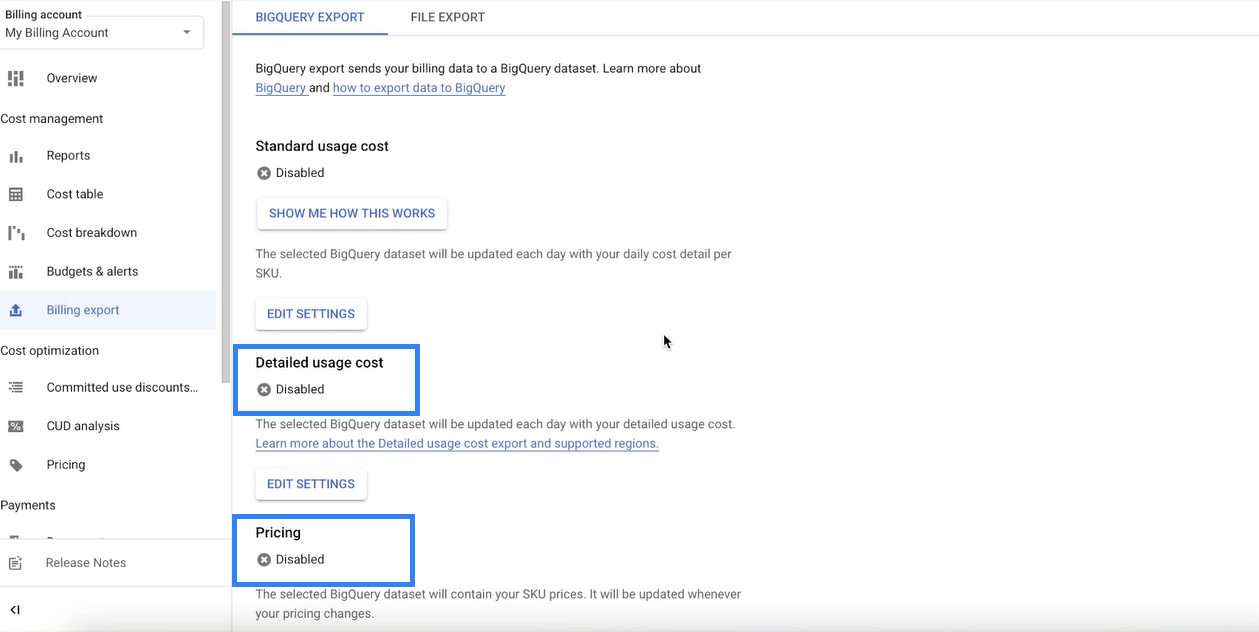
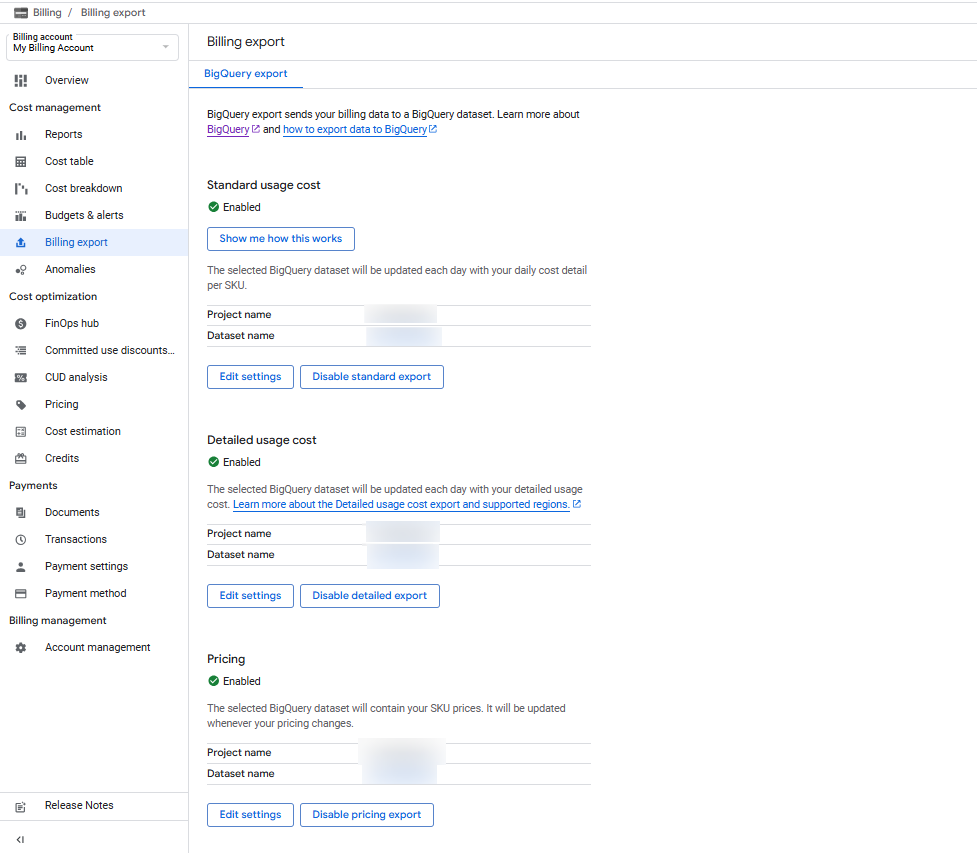
 5. Enable the export for Detailed usage cost and Pricing.
Note
- Detailed usage cost data contains detailed Cloud Billing account cost usage information.
- It includes everything in the standard usage cost data plus resource-level cost data, like a virtual machine or SSD that generates service usage.
 6. Click Edit Settings for both Detailed Usage Cost and Pricing.
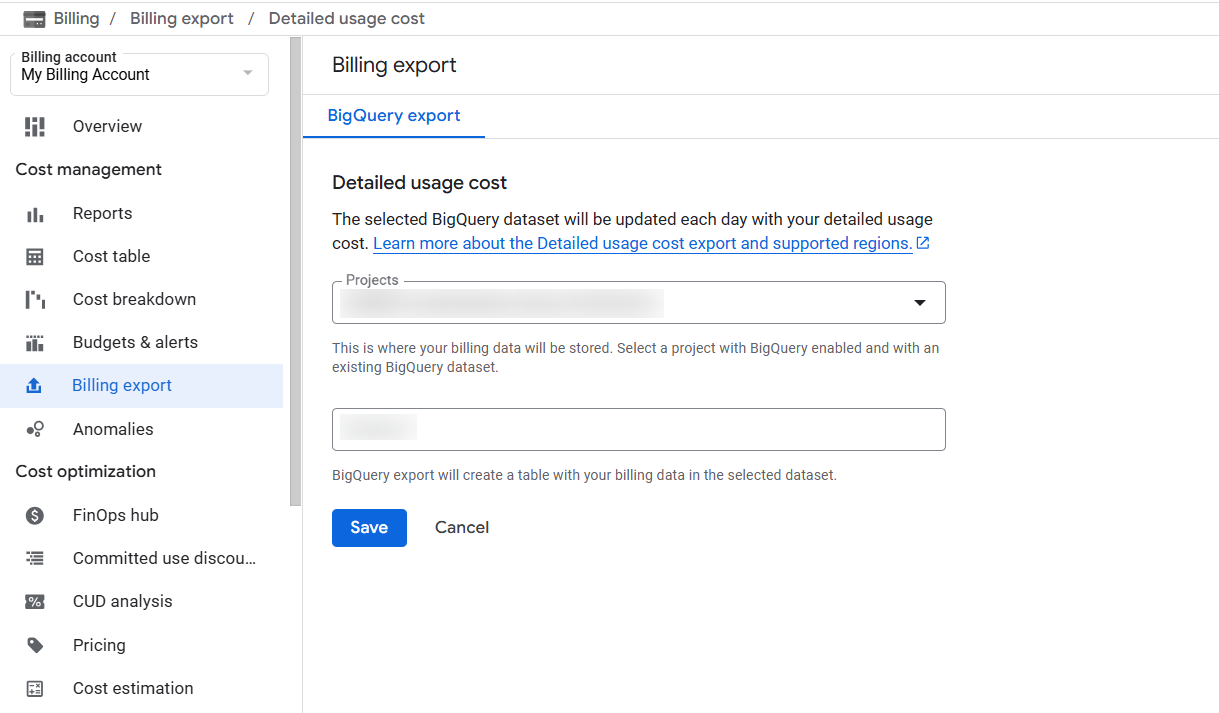 7. Select the project and dataset where you want to store the billing and pricing data.
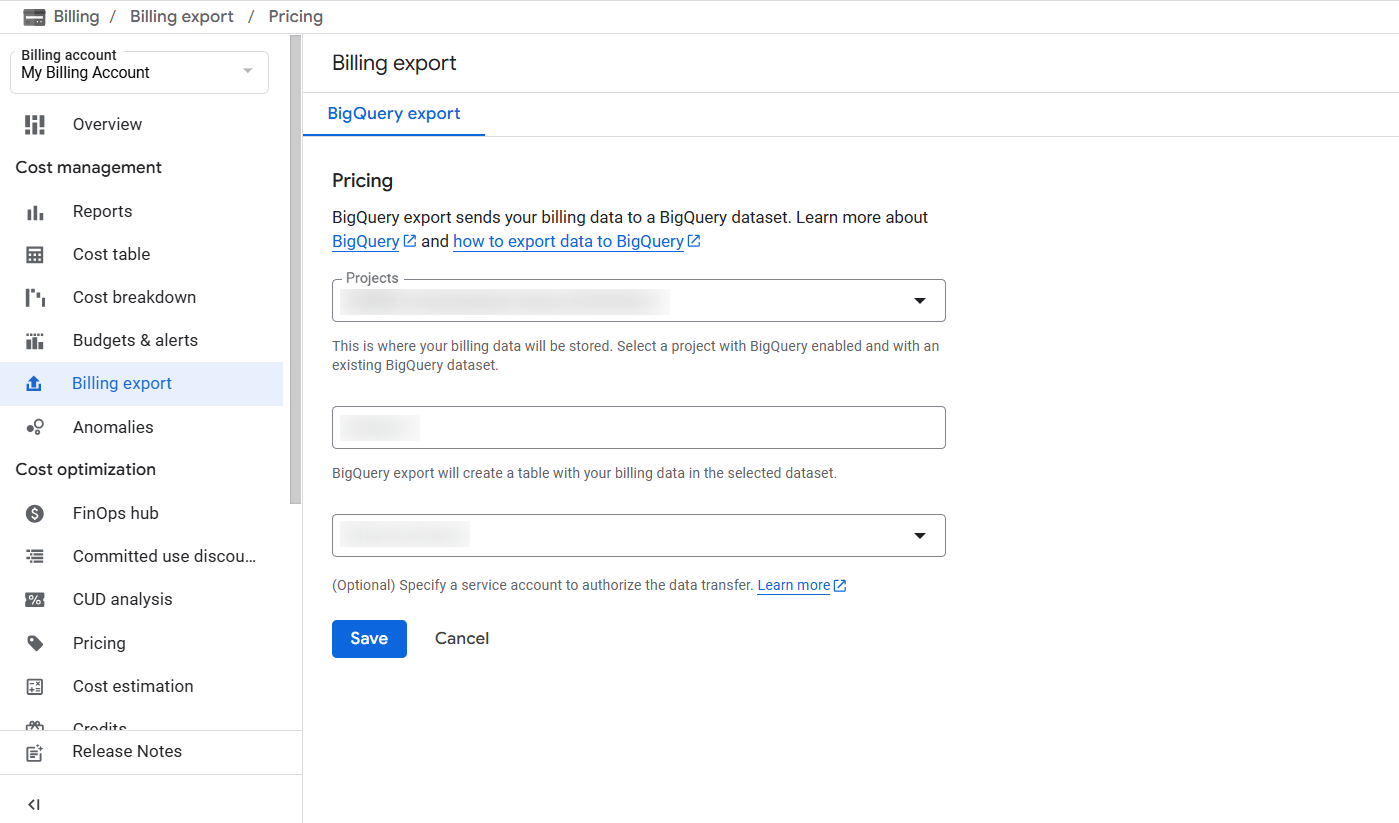 8. After enabling the export, the page will appear as shown below.
Compute Engine
Step 1 - Enable Compute Engine API
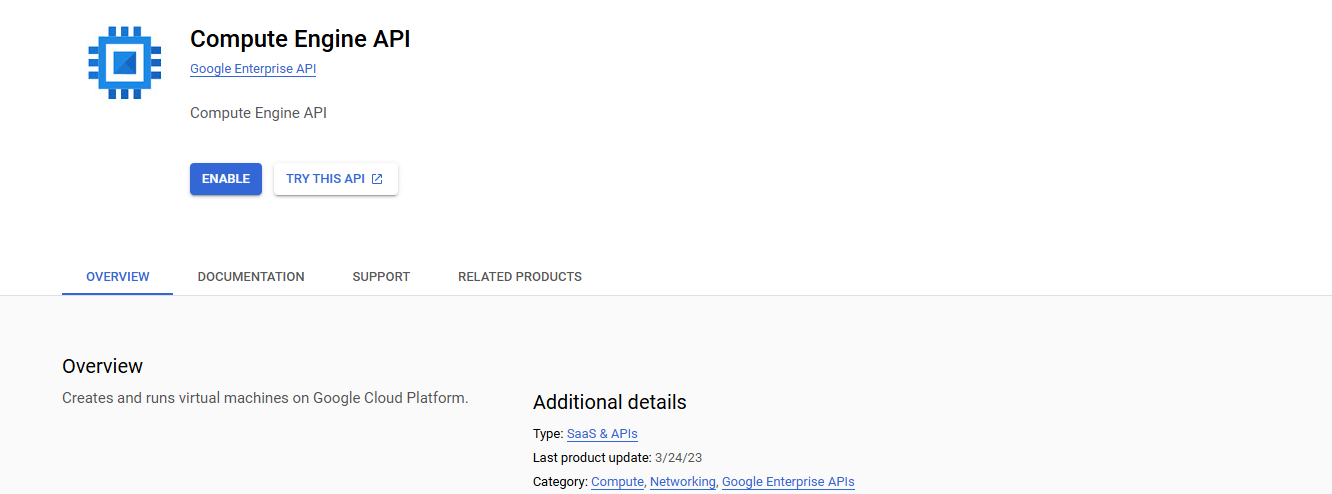
- Enable the Compute Engine API if it is not already enabled.
Cloud SQL
Step 1 - Enable Cloud SQL API
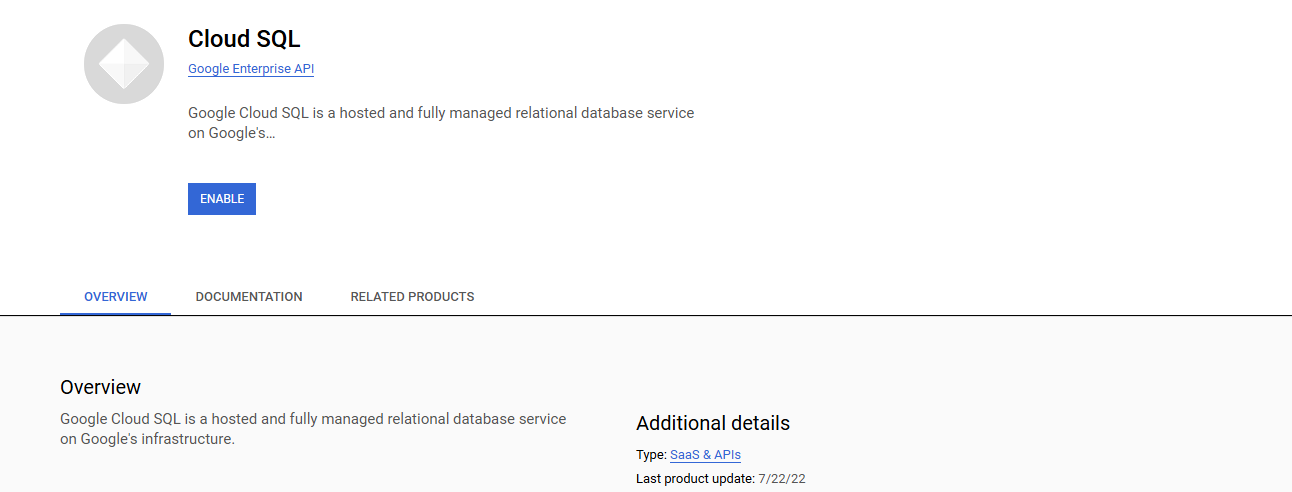
- Enable the Cloud SQL API if it is not already enabled.
Step 2 - Enable Cloud SQL Admin API
- Enable the Cloud SQL Admin API if it is not already enabled.
Cloud Run Function
Step 1 - Enable Cloud Run Admin API
- Enable the Cloud Run Admin API if it is not already enabled.
Cloud Resource Manager
Step 1 - Enable Cloud Resource Manager API
- Enable the Cloud Resource Manager API if it is not already enabled.
Networking
Step 1 - Enable Service Networking API
- Enable the Service Networking API if it is not already enabled.
Cloud Build
Step 1 - Enable Cloud Build API
- Enable the Cloud Build API if it is not already enabled.
Cloud IAM
Step 1 - Enable Identity and Access Management (IAM) API
- Enable the Identity and Access Management (IAM) API if it is not already enabled.
Step 2 - Assigning roles
Here is a detailed step-by-step guide on how to assign the following IAM roles to a user and service account in Google Cloud Platform (GCP). You can do this via the Google Cloud Console, gcloud CLI, or Terraform.
Step 2.1 - Assigning roles via Google Cloud Console
- Go to IAM & Admin

- Click Grant Access to assign one or more IAM roles to a user or service account for a specific project
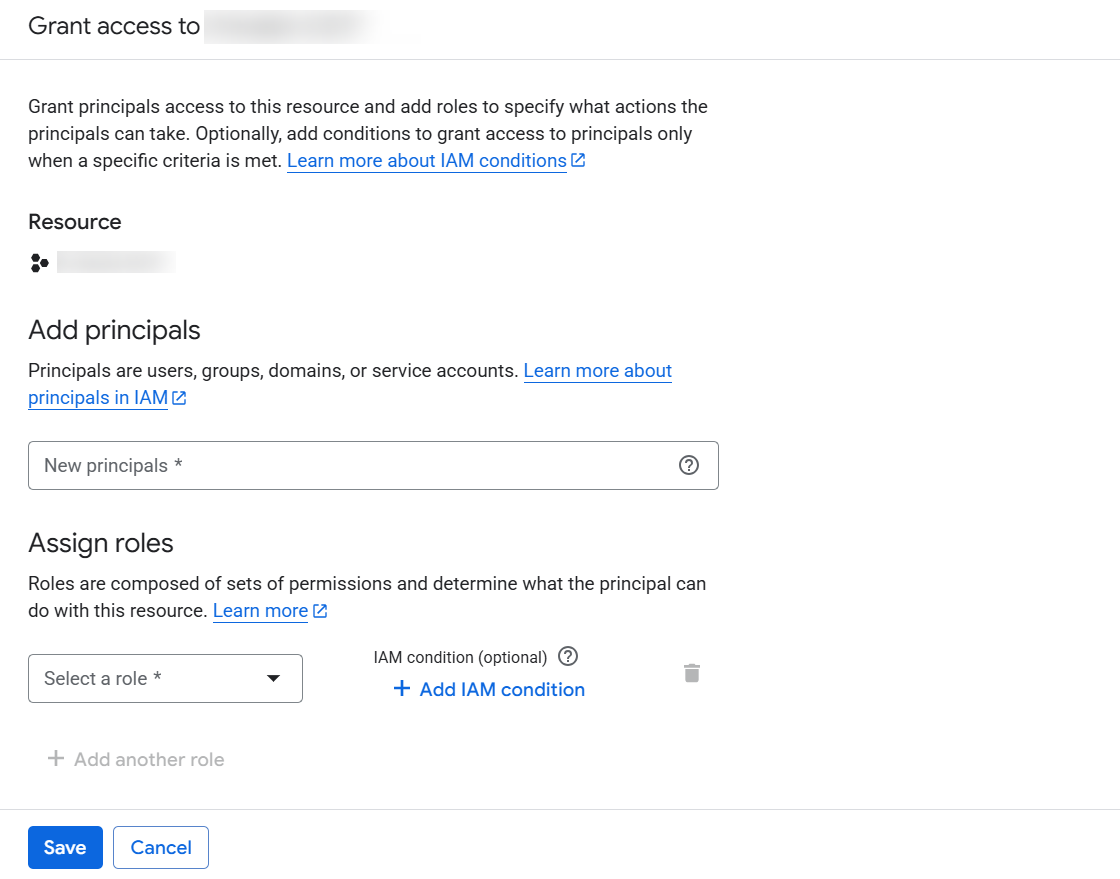
-
Enter the user or service account email and add the roles by searching each role name.
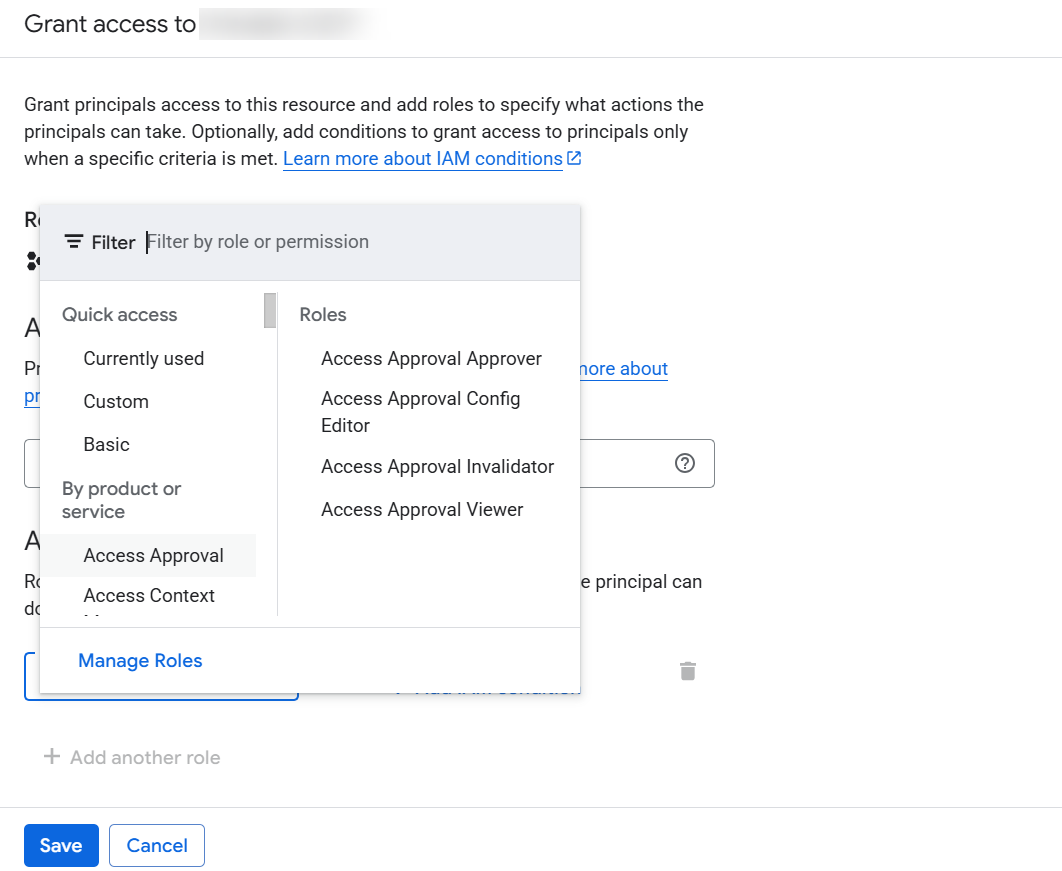
-
Click Add Another Role as needed and click Save.
Step 2.2 - Assigning roles using gcloud CLI
Basic Command:
-
gcloud projects add-iam-policy-binding PROJECT_ID \ --member="user:USER_EMAIL" \ --role="roles/ROLE_NAME" -
Here replace PROJECT_ID with your actual Google Cloud Project ID and USER_EMAIL with the email address of the user or service account and also replace ROLE_NAME with the exact role name you want to assign.
Step 2.3 - Assigning roles to access billing and pricing data from another project
- Go to BigQuery in Google Cloud Console. In the Explorer panel, find the dataset.
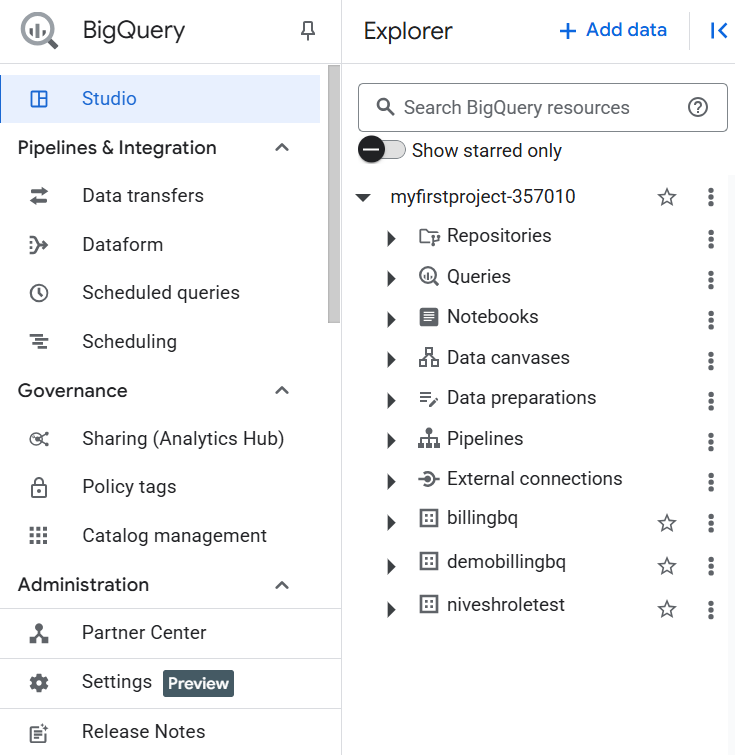
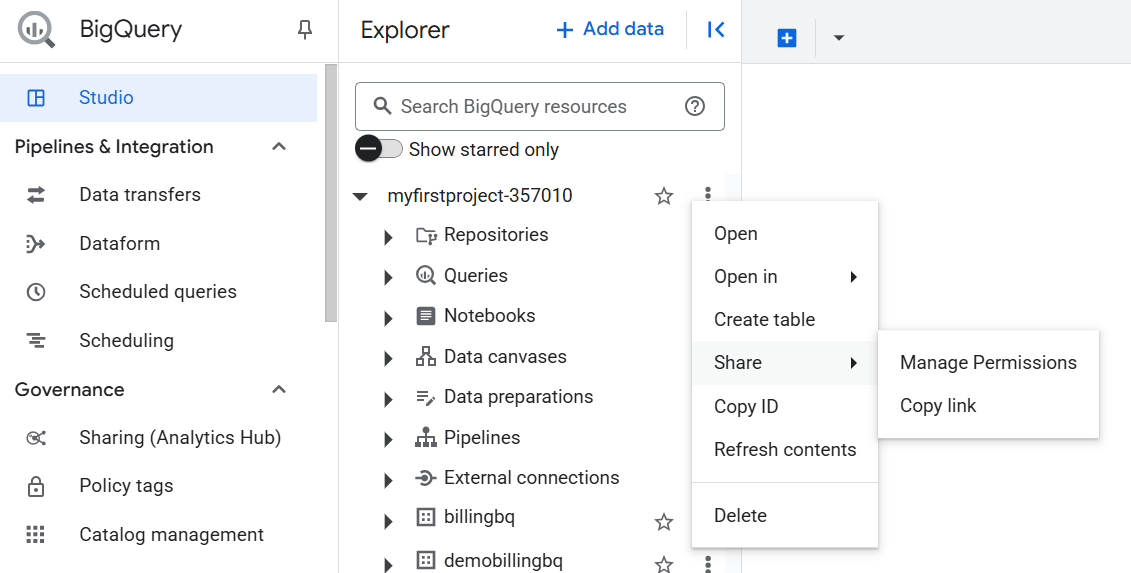
- Click the 3-dot menu next to the dataset name, and choose "Share" → "Manage Permissions".
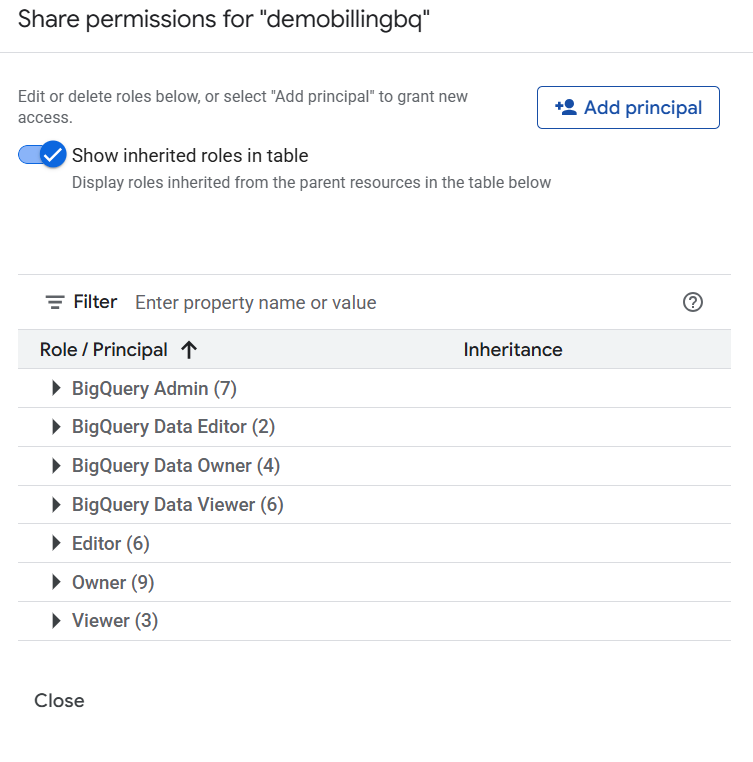
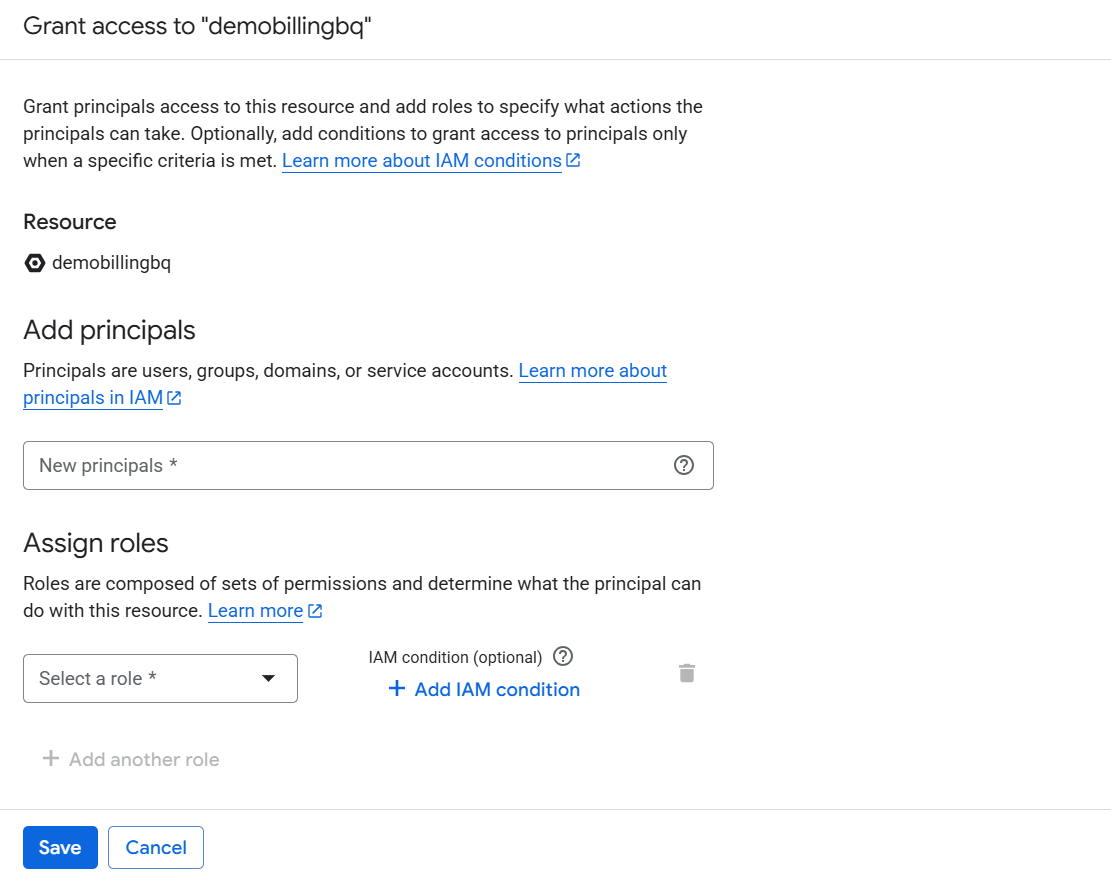
- Click Add Principal at the top.
- In the New principals field, enter the service account or user that needs access. And click Save.
Cloud Monitoring
Step 1 - Enable Cloud Monitoring API
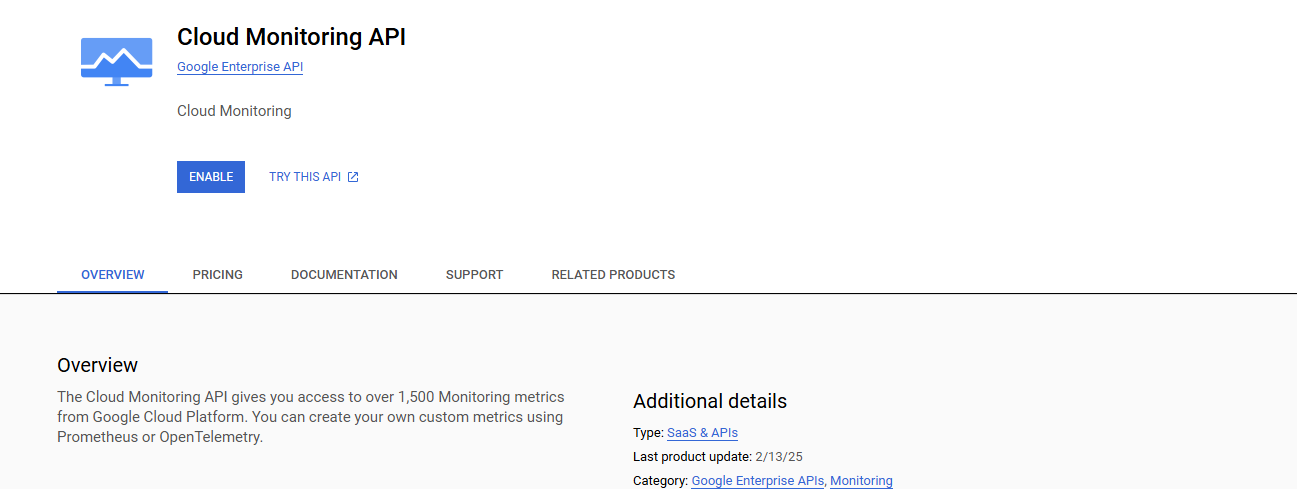
- Enable the Cloud Monitoring API if it is not already enabled.
Cloud Logging
Step 1 - Enable Cloud Logging API
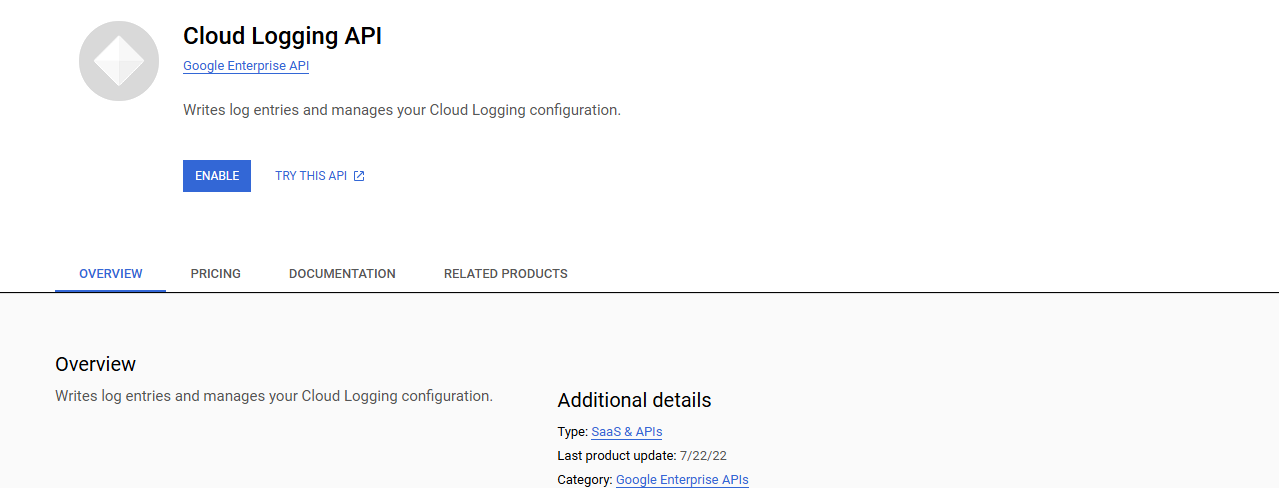
- Enable the Cloud Logging API if it is not already enabled.
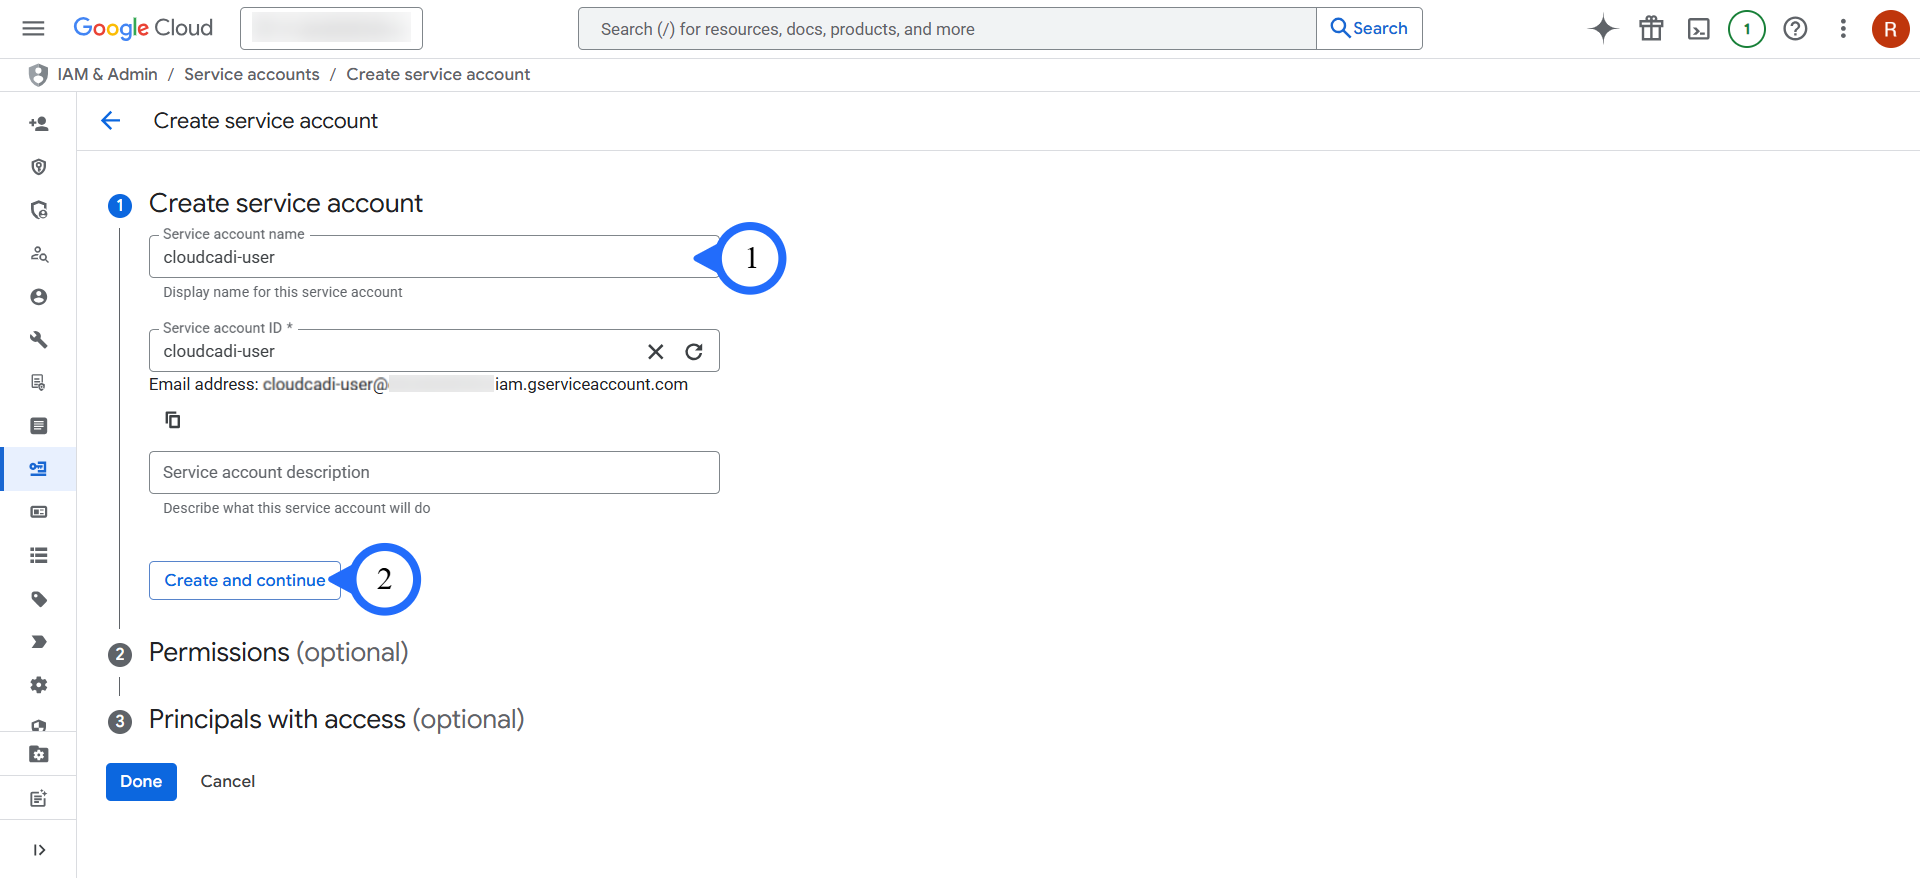
Dedicated Service Account Creation
- Provide a proper Service Account Name.
- Click Create and Continue.
-
Under Permissions, grant the following roles one by one. If you are onboarding the same project in which the service account was created, assign these roles.
- roles/iam.roleViewer
- roles/bigquery.jobUser
- roles/bigquery.resourceViewer
- roles/cloudbuild.builds.editor
- roles/run.invoker
- roles/run.viewer
- roles/cloudsql.client
- roles/cloudsql.instanceUser
- roles/cloudsql.viewer
- roles/compute.osLogin
- roles/compute.viewer
- roles/file.viewer
- roles/iam.serviceAccountUser
- roles/logging.viewer
- roles/monitoring.viewer
- roles/storage.objectViewer
- roles/spanner.viewer
- roles/bigtable.viewer
- roles/gkehub.scopeViewer
- roles/gkehub.viewer
- roles/container.viewer
-
Otherwise, use
roles/iam.serviceAccountViewerrole and Select Service Account Viewer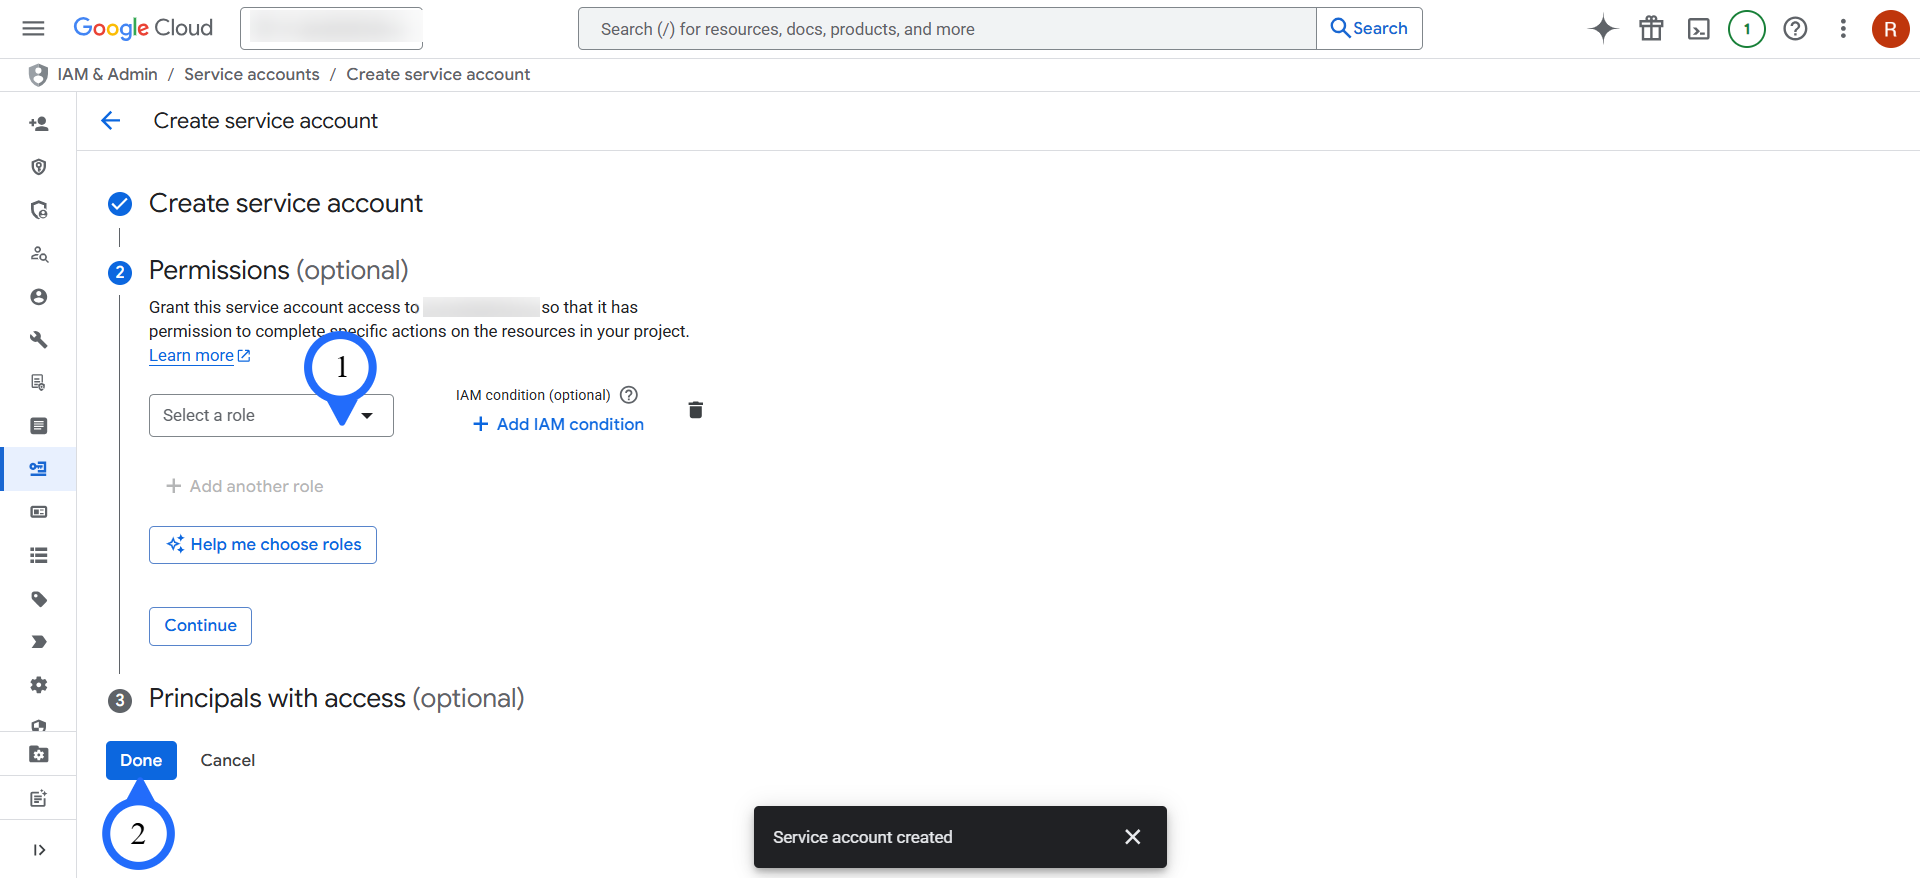
- Then click Done.
- The service account will be created successfully.
Note
Use this Service Account in Workload Identity Federation(WIF) Setup (Grant access using service account impersonation.)
Workload Identity Federation Setup
Workload Identity Federation allows external workloads to securely access GCP resources without using service account keys. This setup establishes trust by creating an identity pool and associating it with an external identity provider. Attribute mappings convert external identities into GCP principals, enabling fine-grained and secure access control.
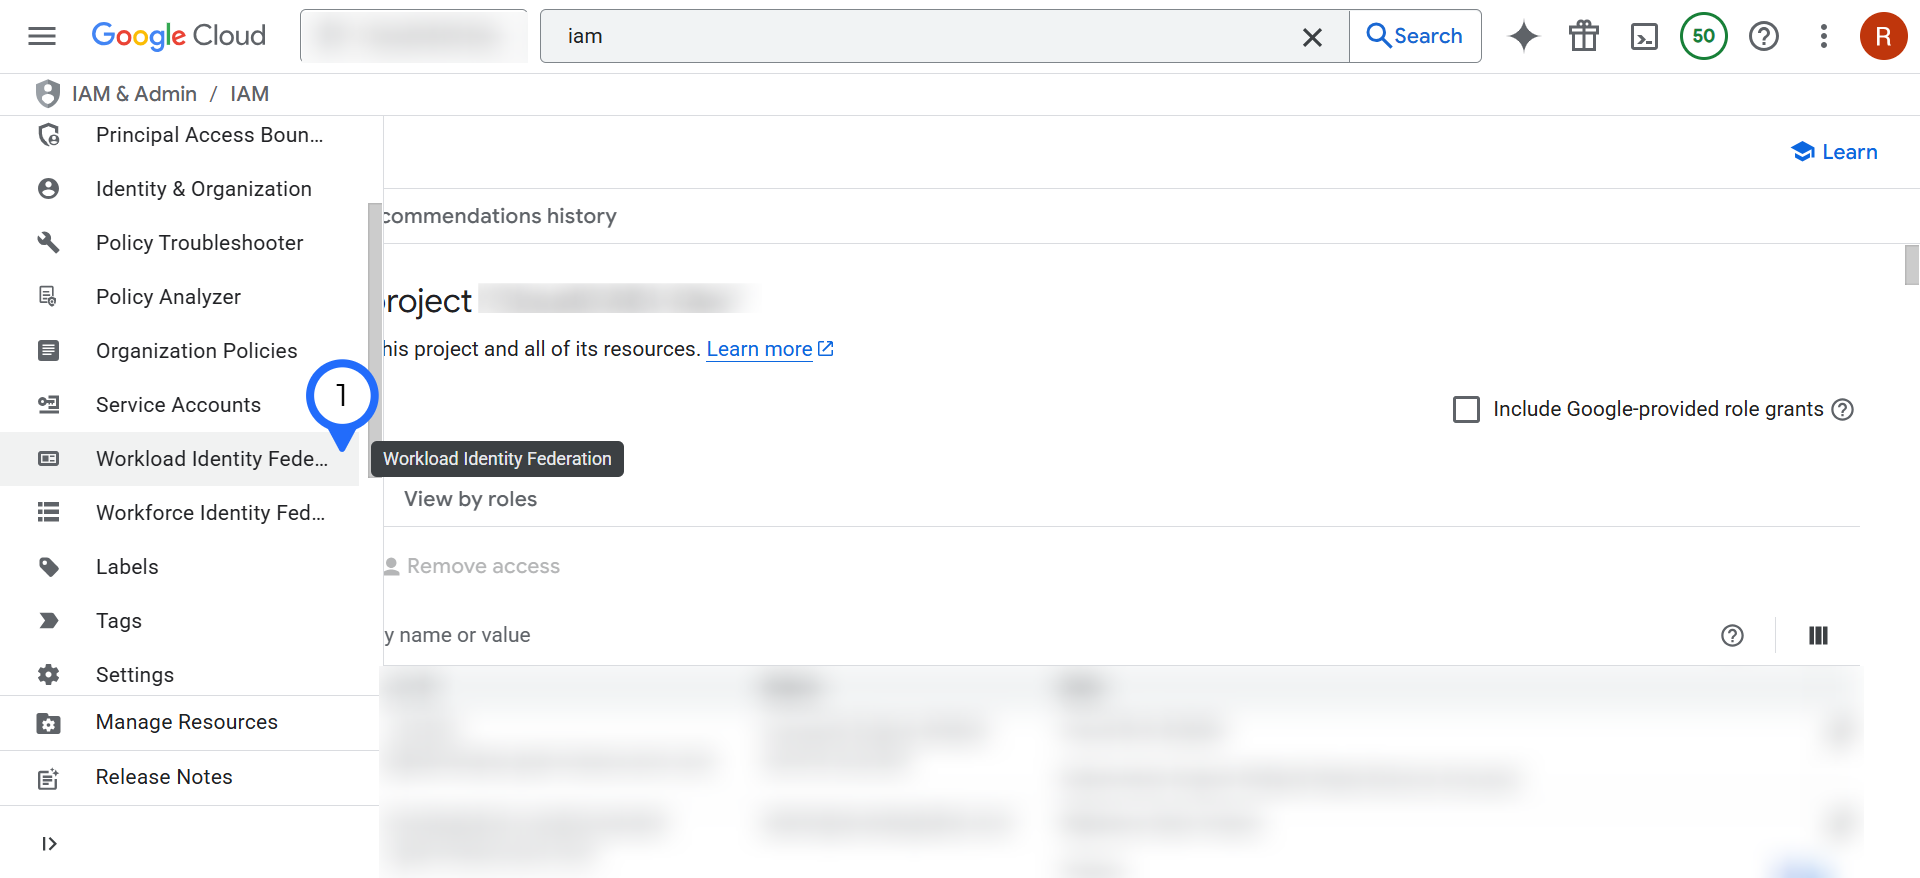
Step 1 - Visit the GCP Console
- Open the GCP Console.
- In the search bar, search for IAM.
- From the left-hand menu, click Workload Identity Federation.
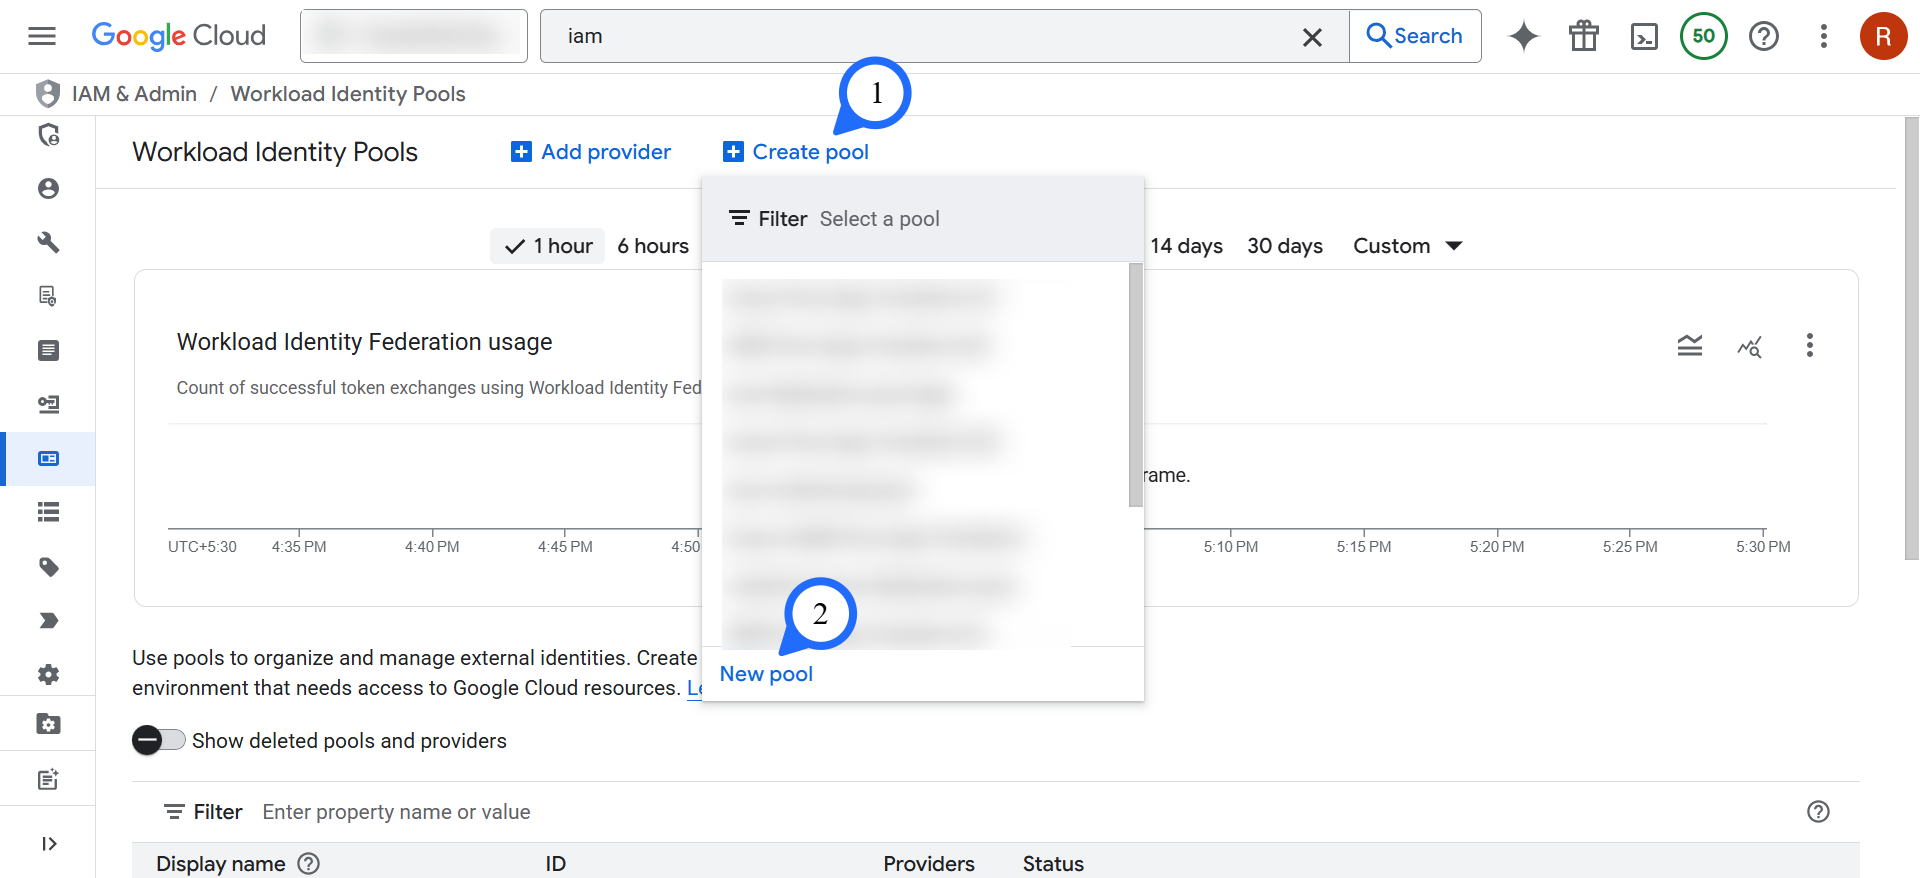
Step 2 - Create a Workload Identity Pool
- Click Create Pool.
- If a pool already exists, it will appear in the dropdown—select the existing pool.
Otherwise, click New Pool to create one.
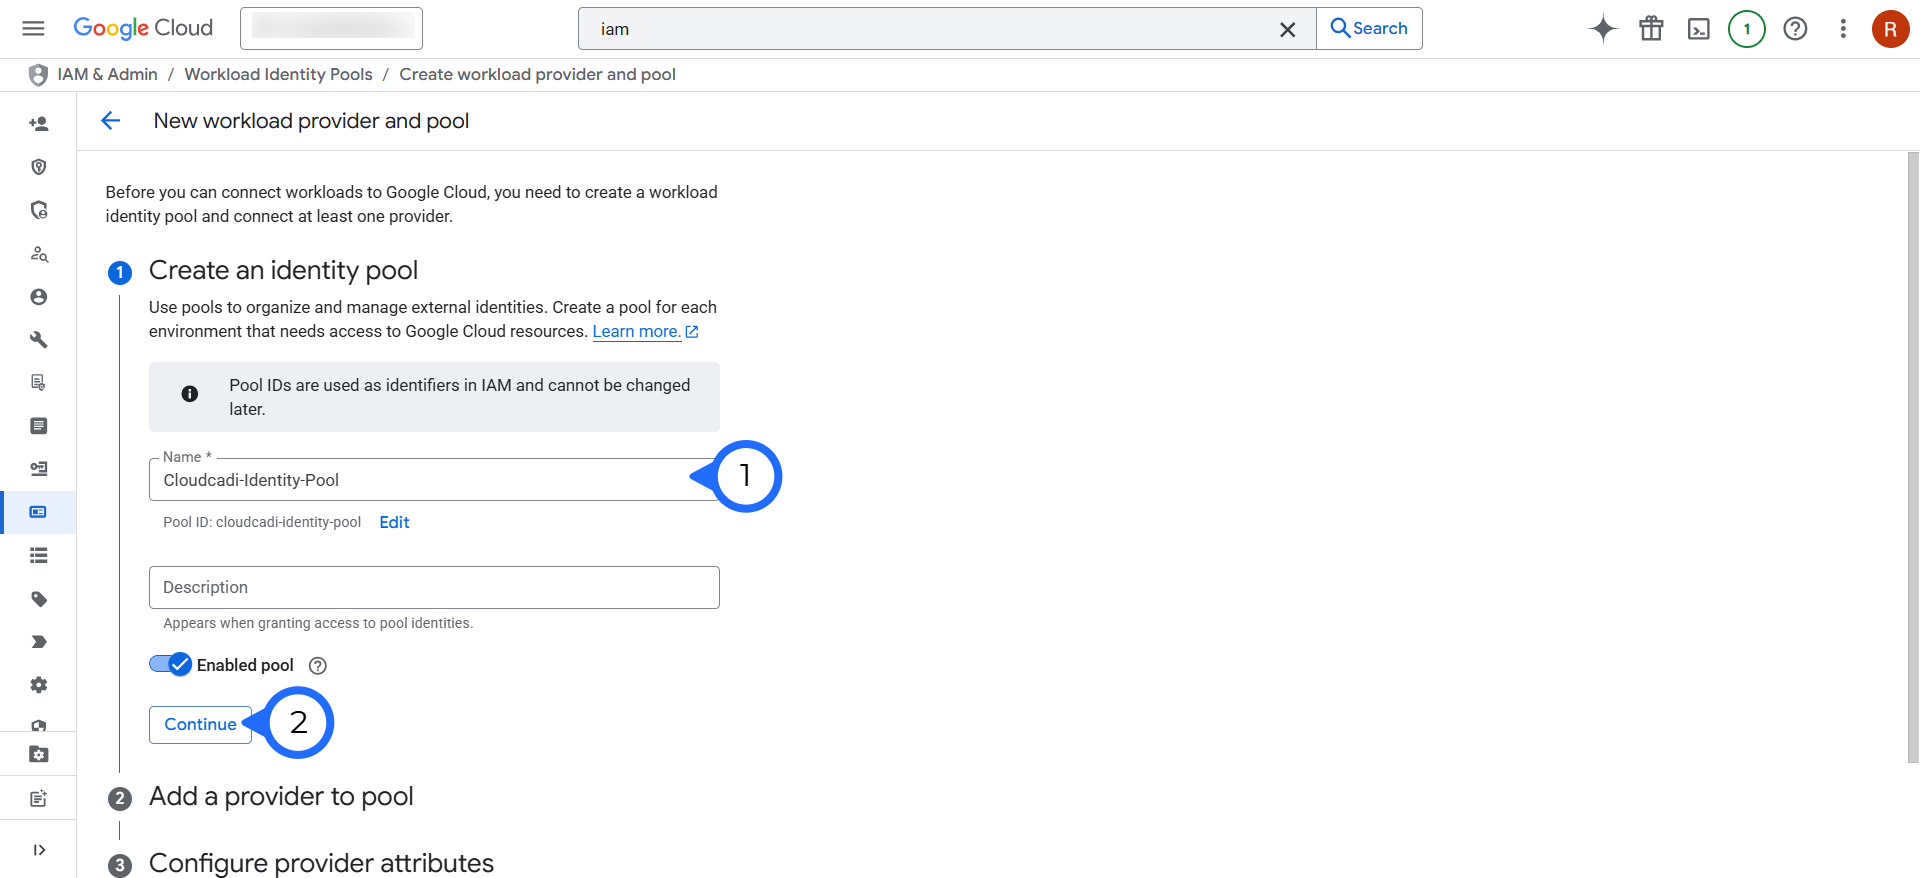
Step 3 - Name the Pool
- Provide a meaningful Identity Pool Name.
- Click Continue.
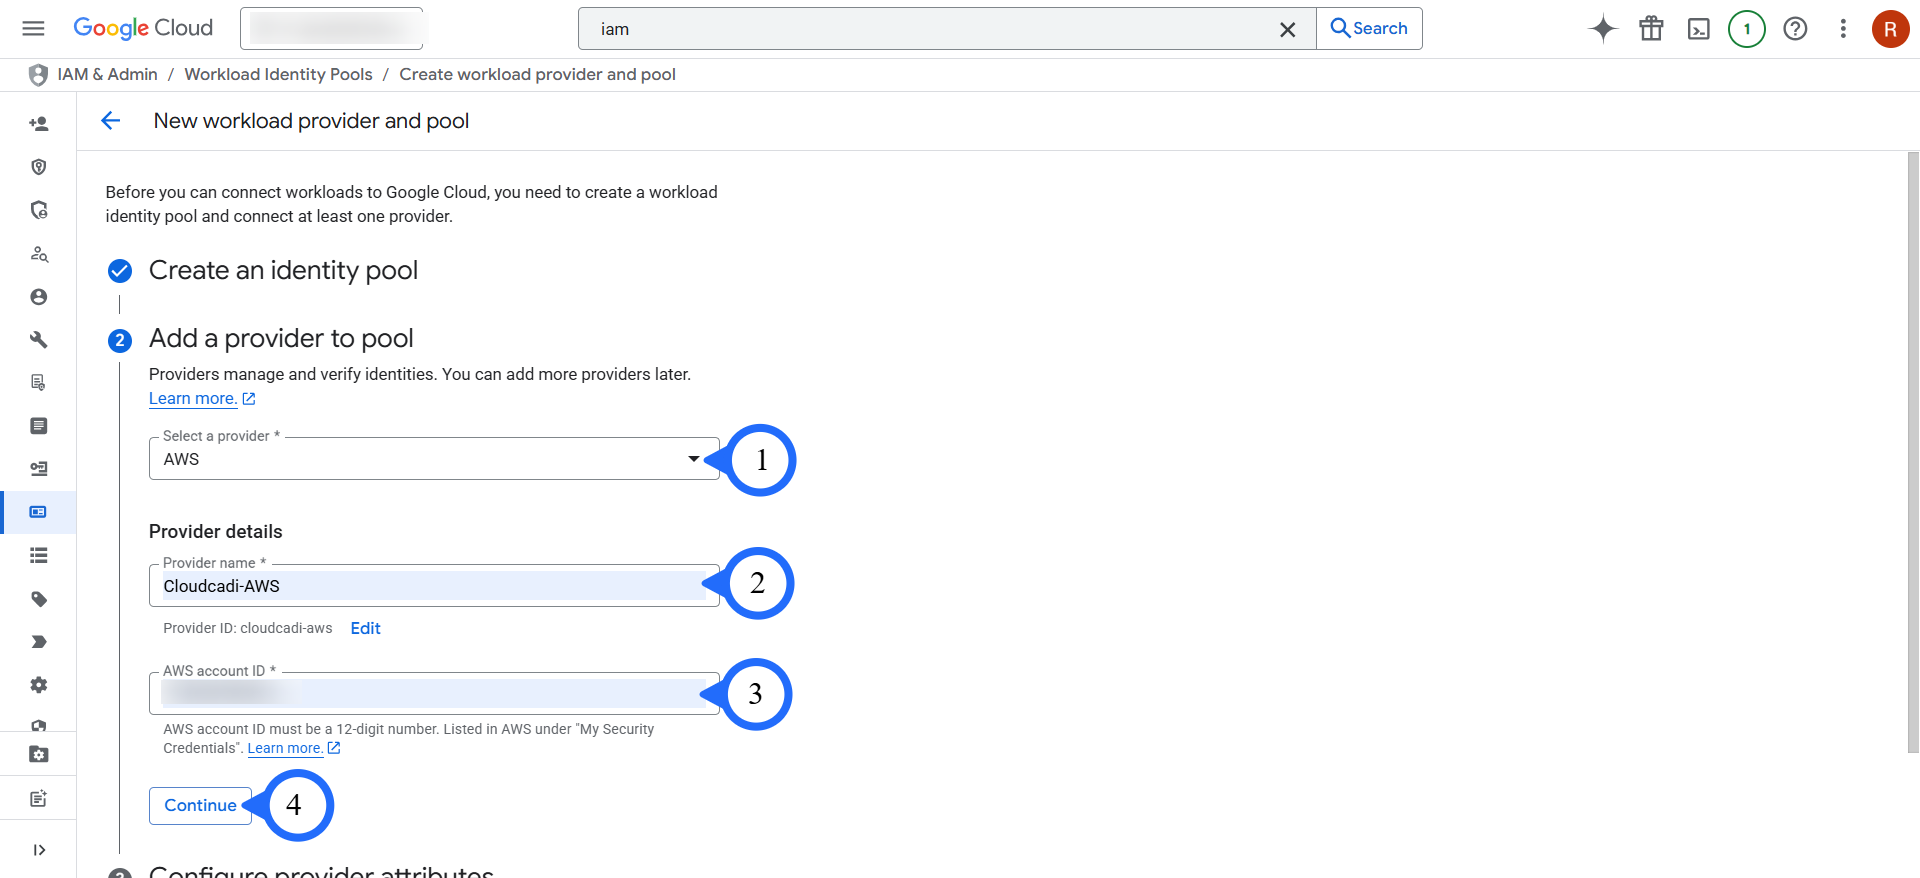
Step 4 - Add a Provider to the Pool
- Select the Provider Type as AWS.
- Enter the Provider Name and AWS Account ID.
- Click Continue.
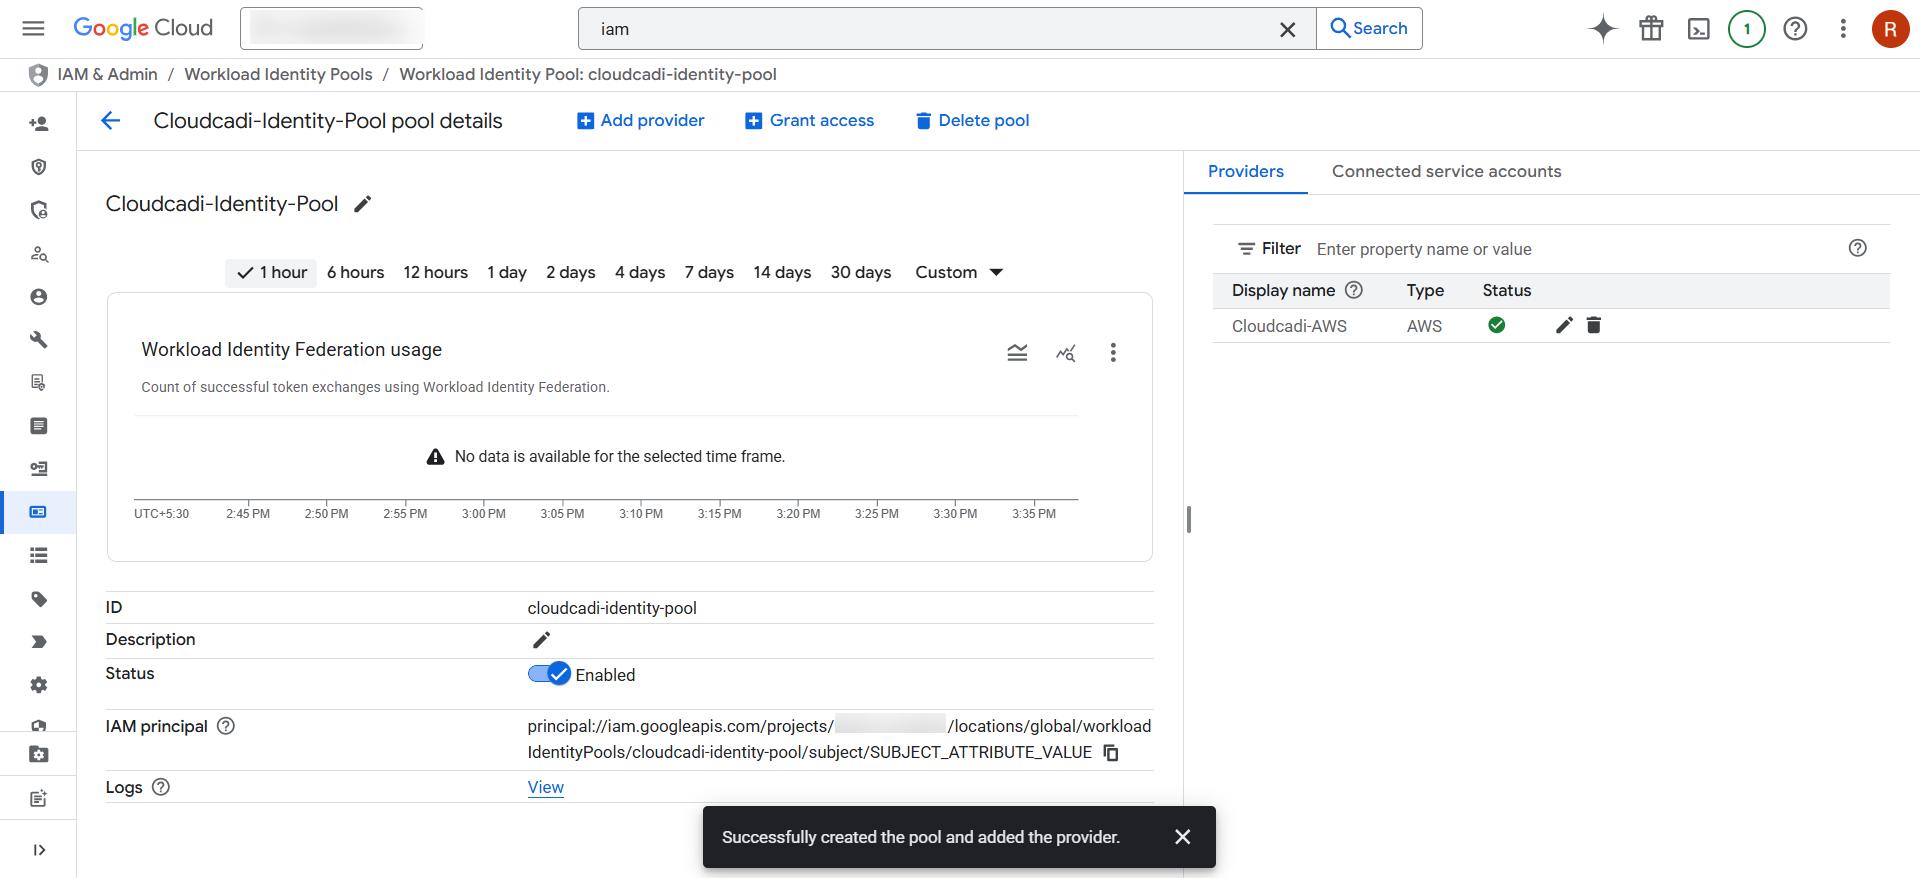
- After Adding Provider, Click Save
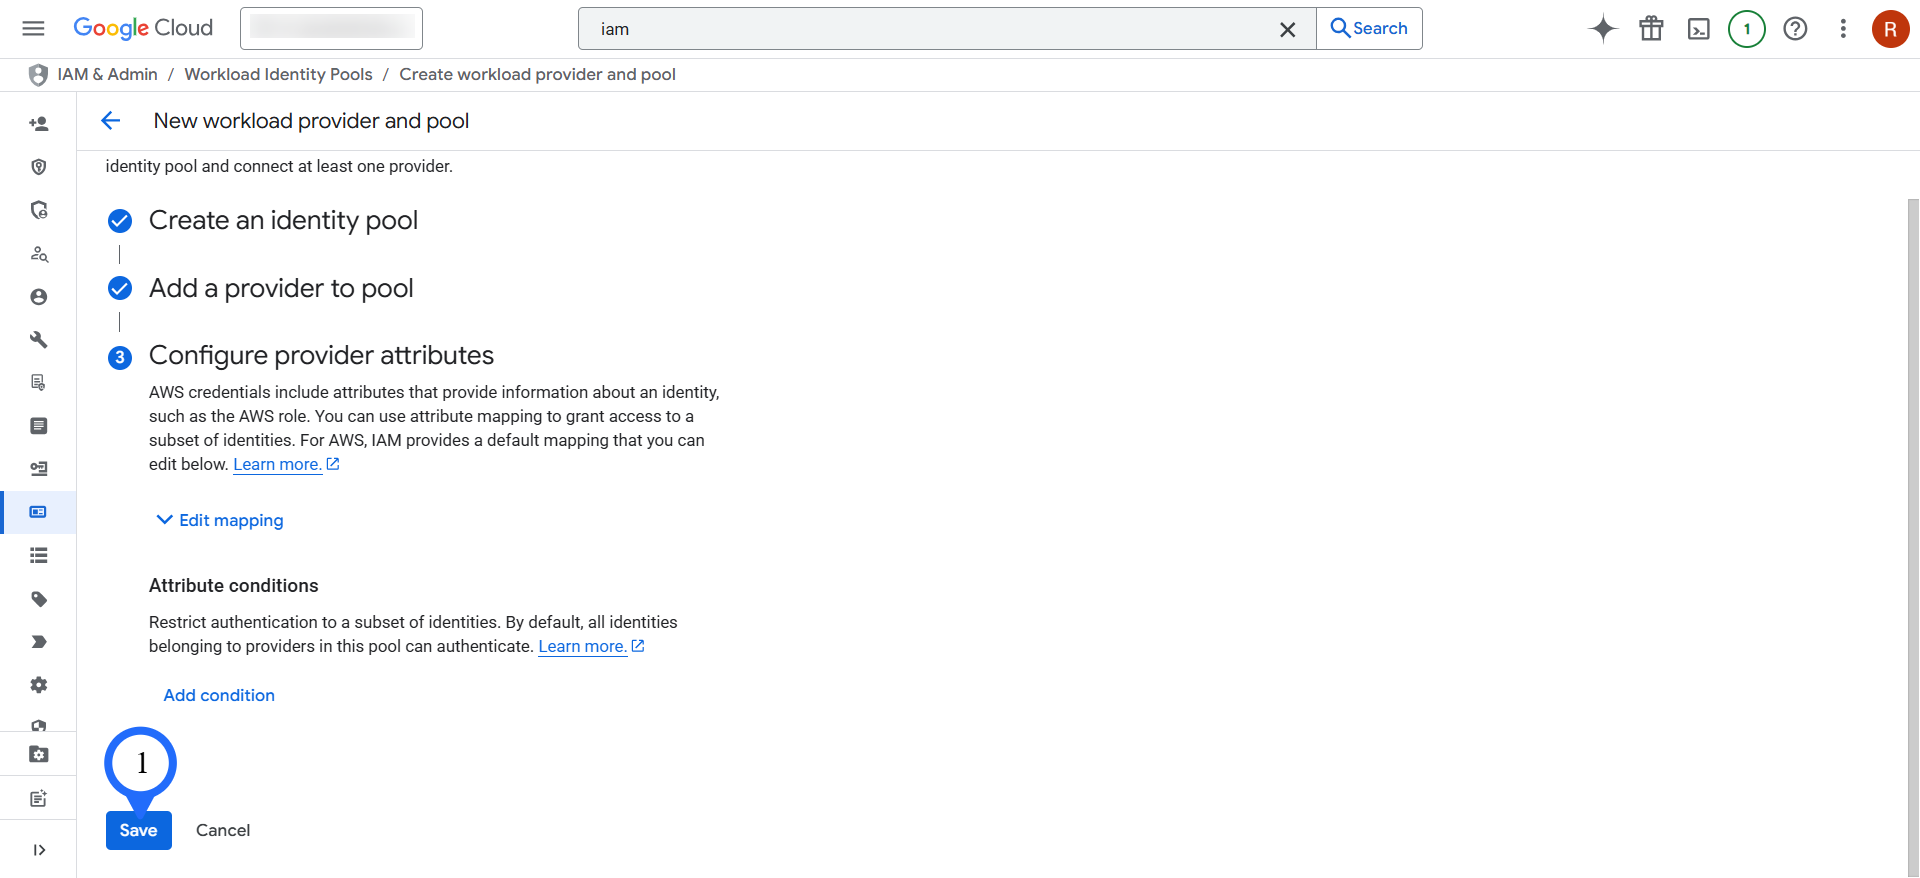
- The Workload Identity Pool is now created successfully. You will see the pool listed with a green status indicator.
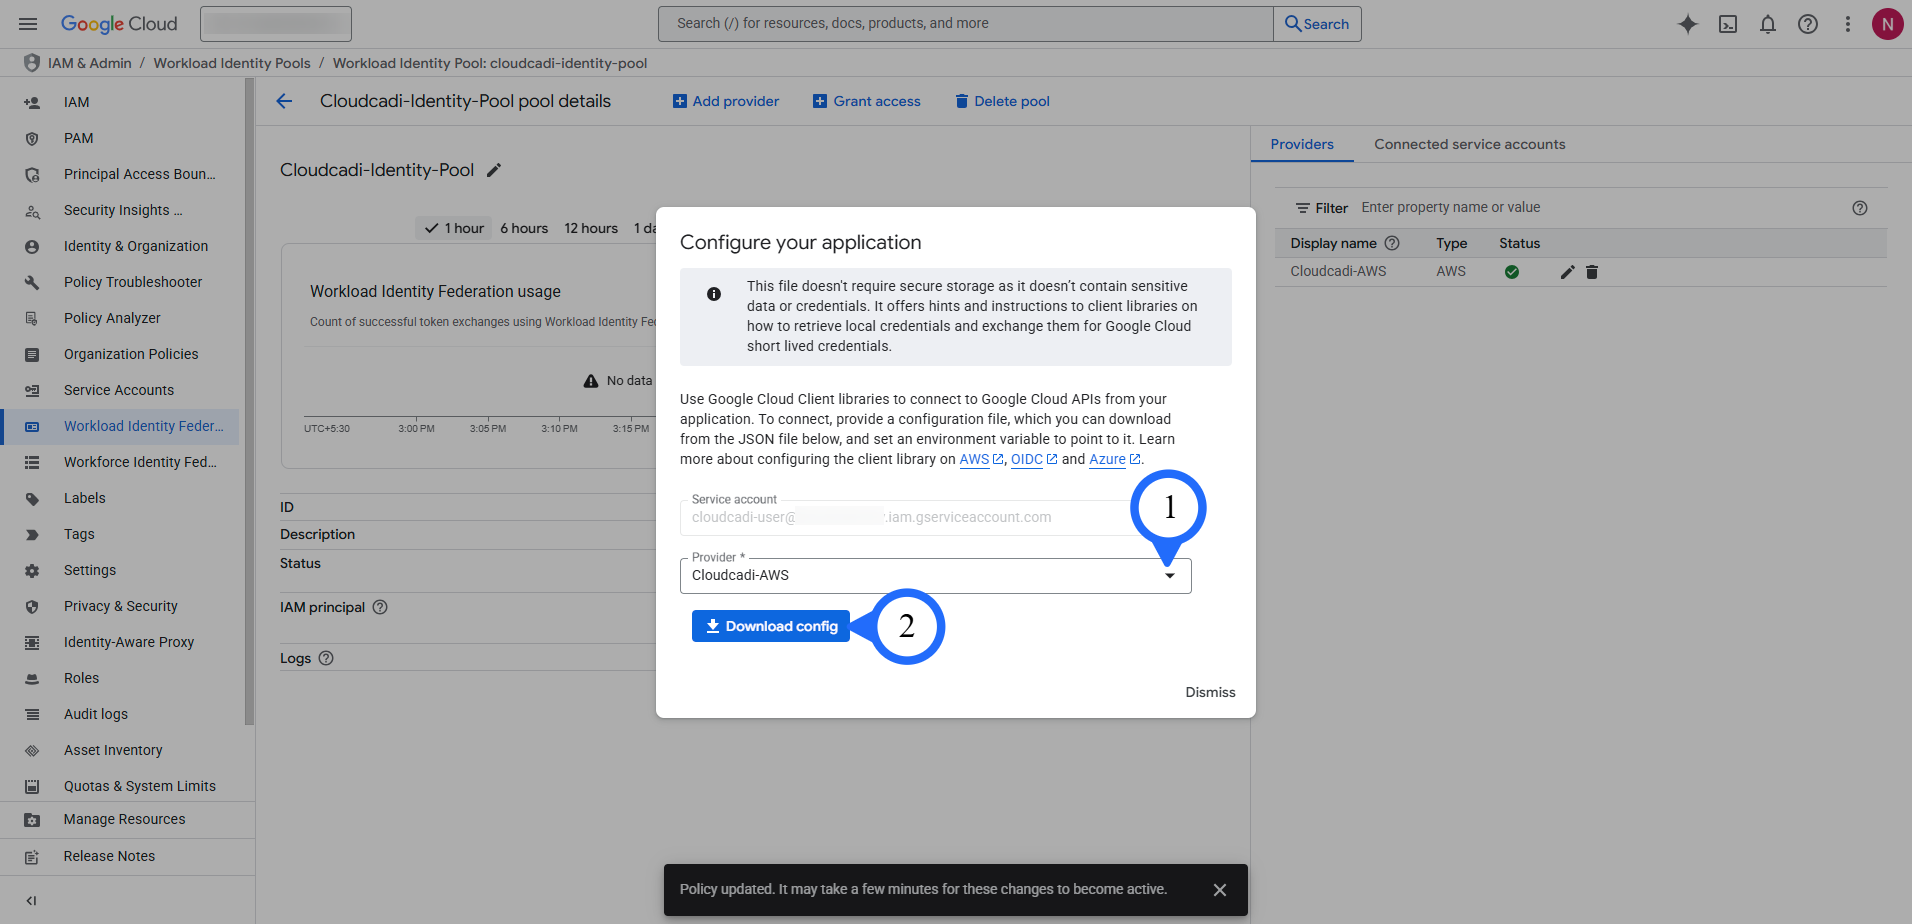
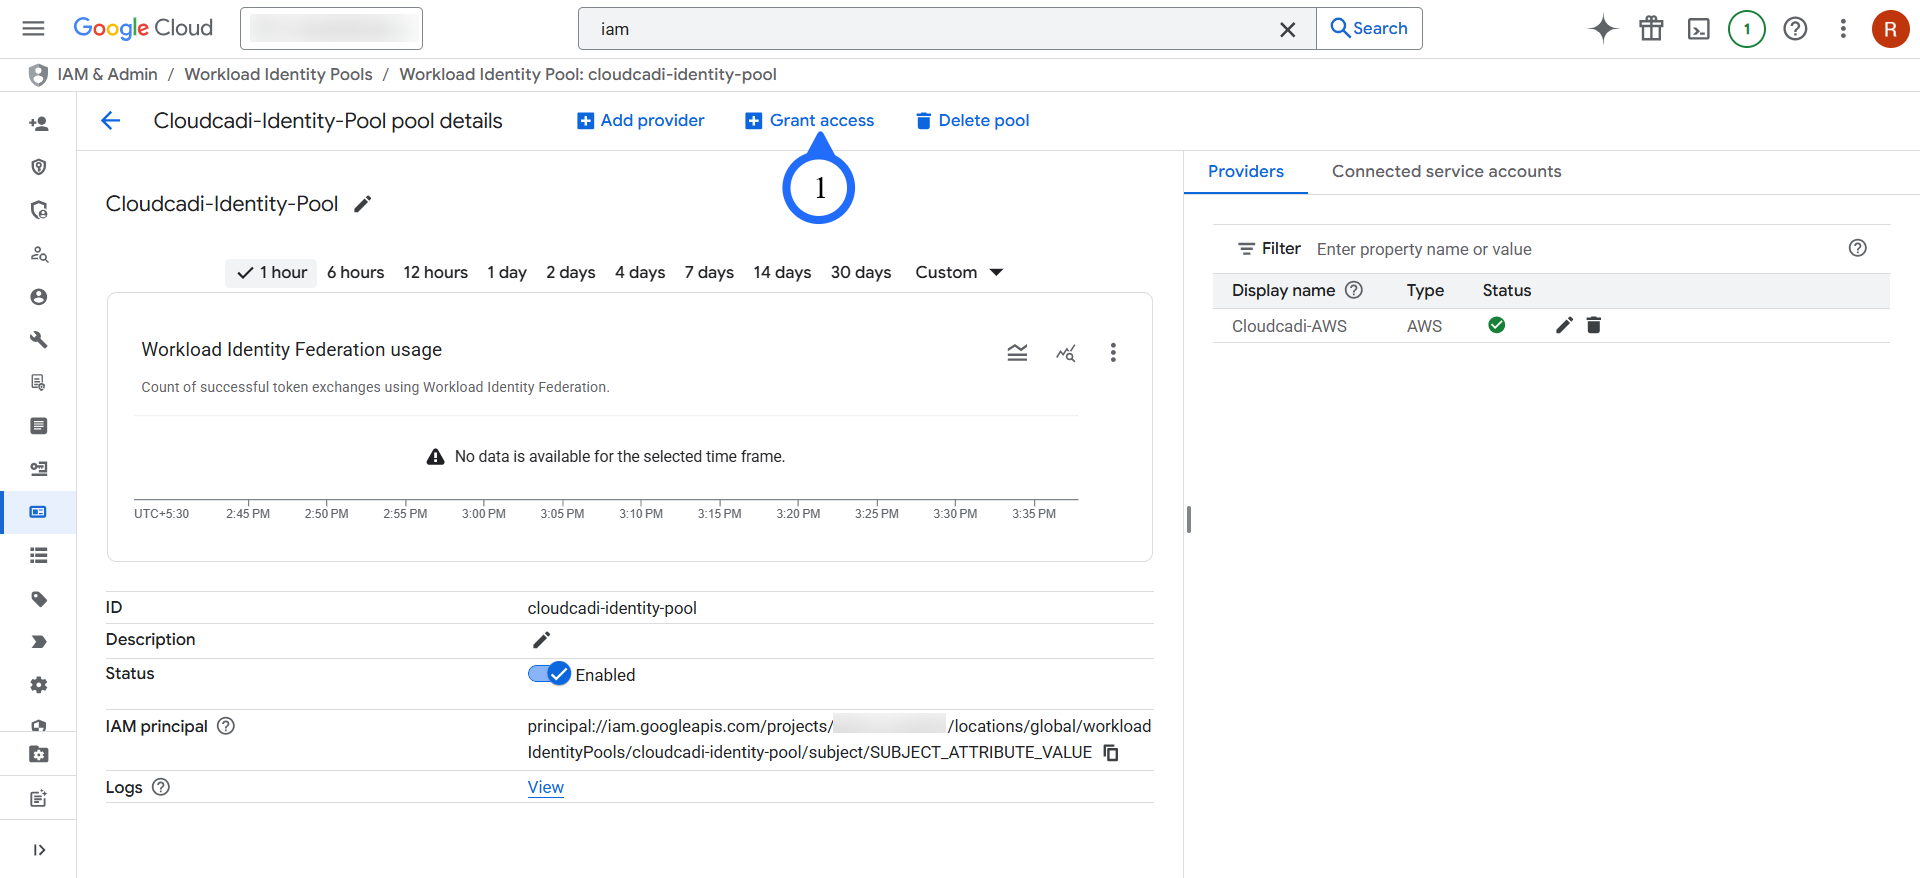
Step 5 - Grant Access and Download the Config File
-
Next, select Grant Access.
-
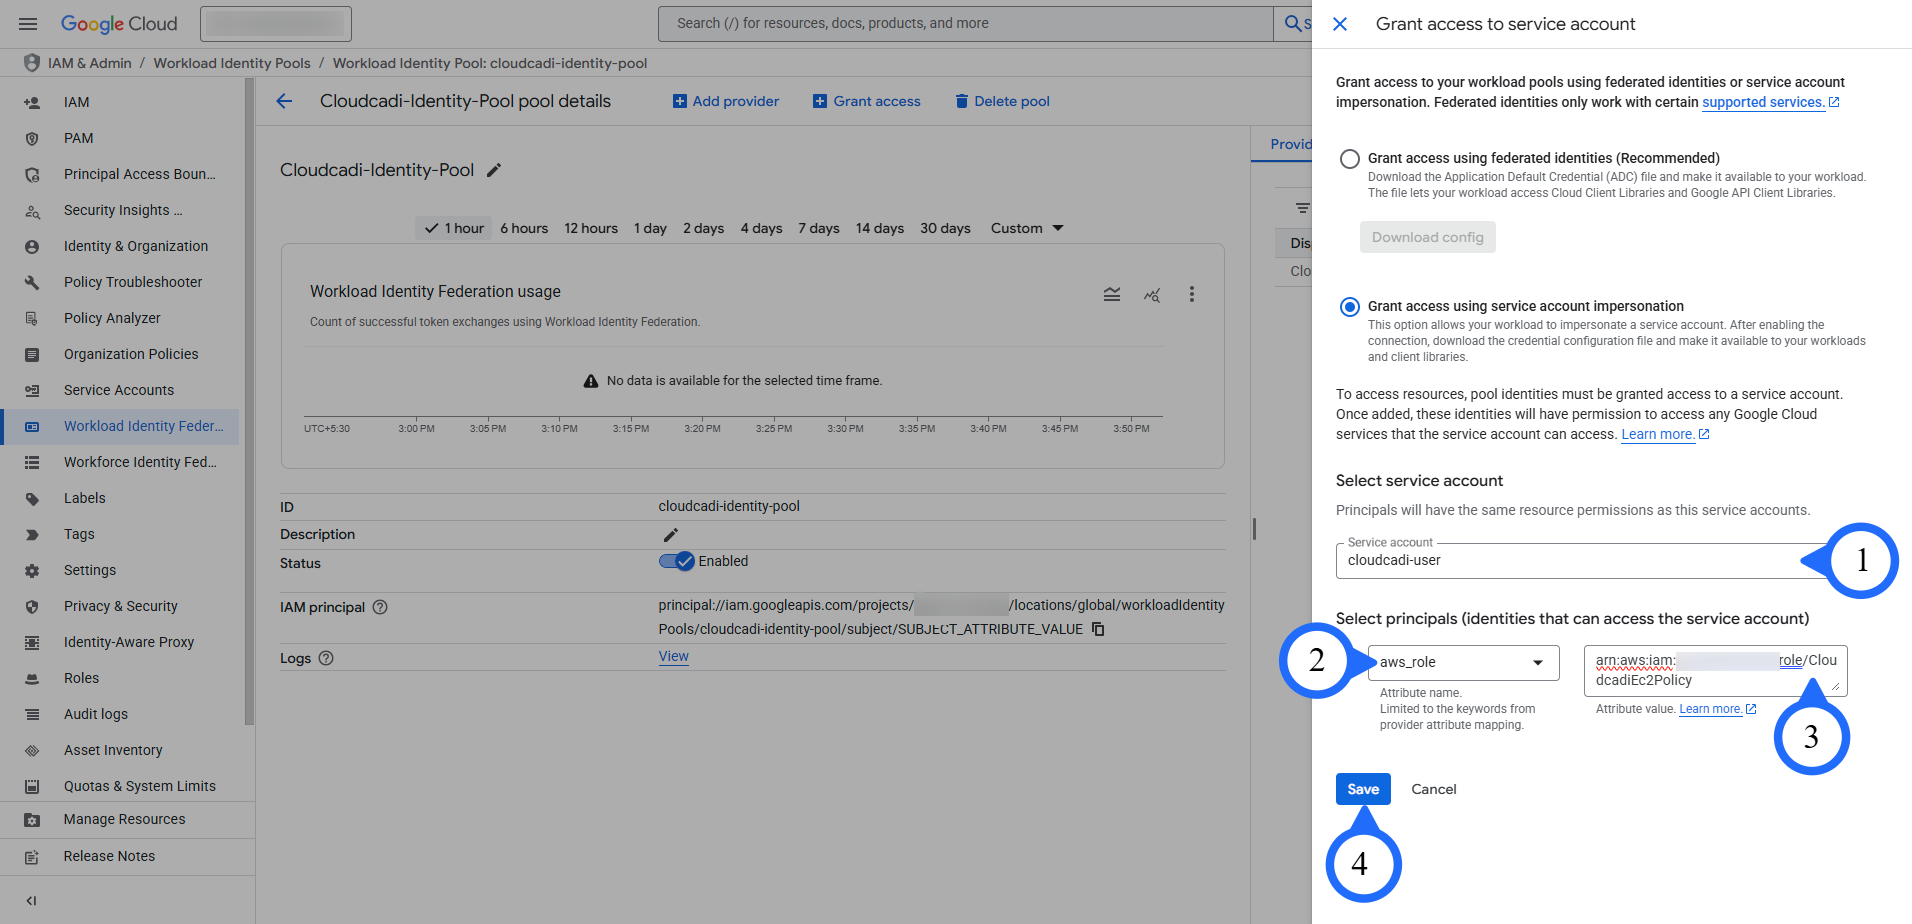
A popup will appear on the right side. Select Grant access using service account impersonation.
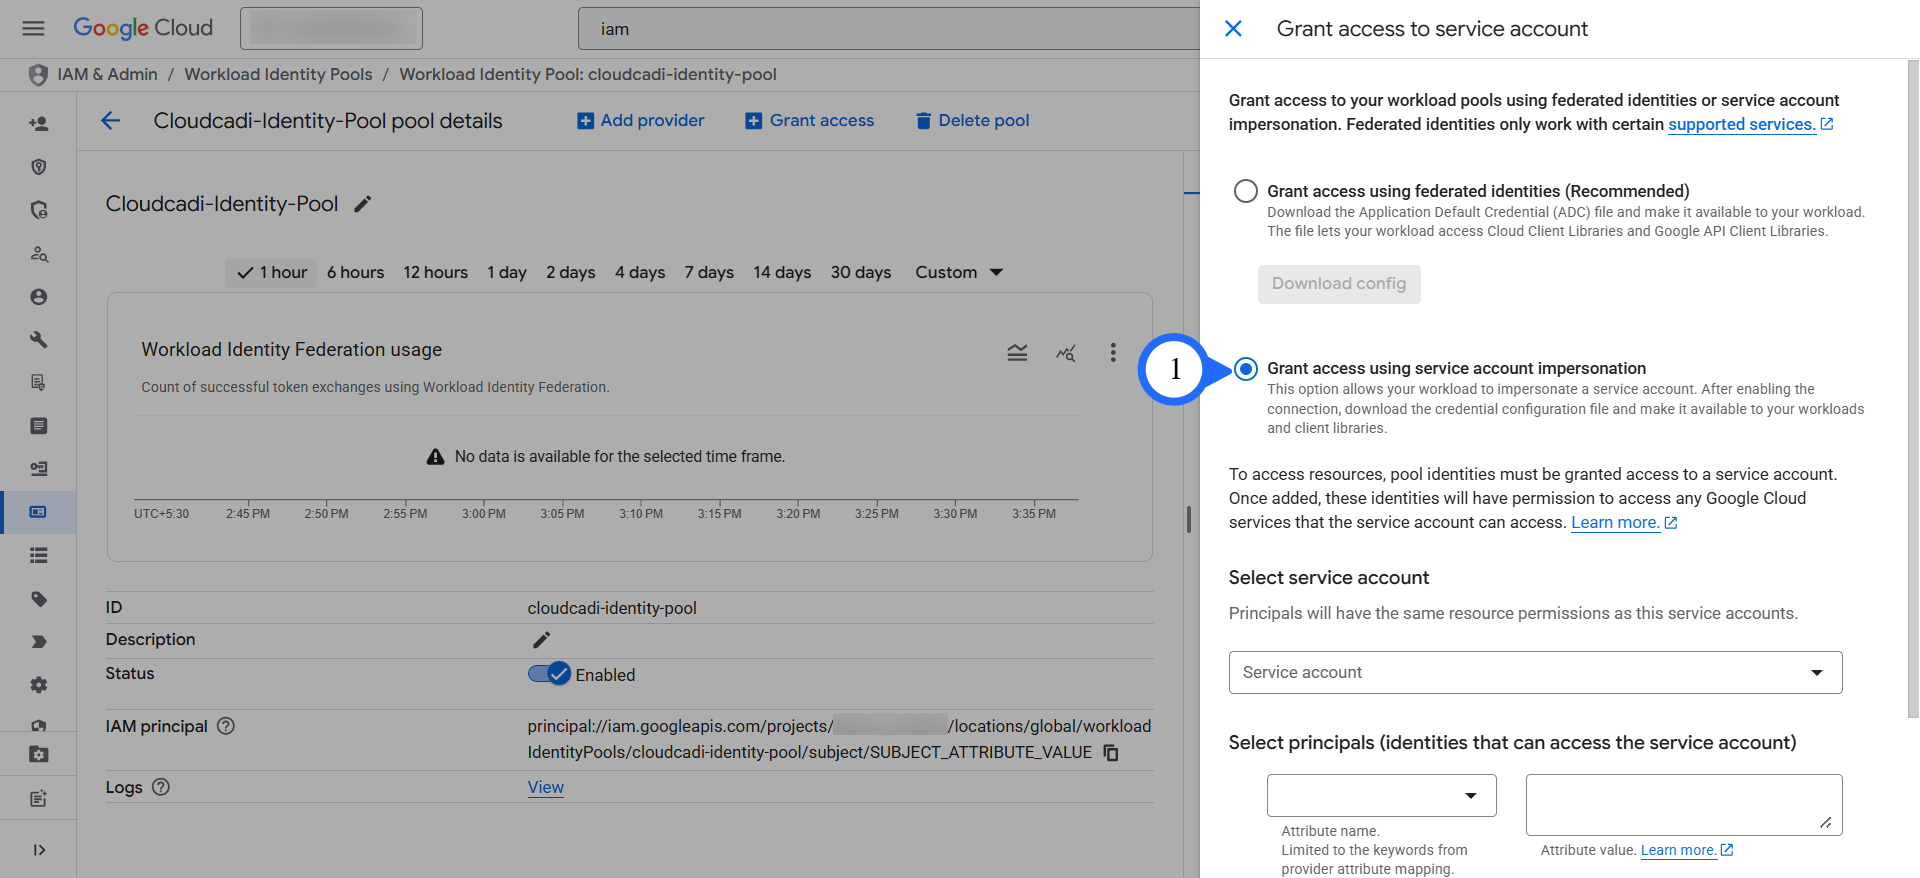
-
Select the service account you created.
If none exists, click New Service Account and create a new one. (Refer Service Account Creation) -
Under Select principals (identities that can access the service account), provide the correct name–value pair:
- Attribute Name:
aws_role -
Attribute Value:
arn:aws:sts::{AWS_ACCOUNT_ID}:assumed-role/{AWS_ROLE_ARN}This is the required format for the Attribute Value. Replace it with the actual AWS Account ID and AWS Role ARN.
(OR)
You can refer to the GCP Onboarding page in the Cloudcadi application and copy the actual Attribute Value directly from the UI.
- Attribute Name:
-
Click Save. The policy will be updated.
-
A popup will appear in the middle of the page. Select the Provider (shown in the Dropdown) that you already gave, while adding Provider to the Pool and download the configuration file by clicking the Download Config button.
-
The configuration file will be downloaded successfully.